Gluten-free air fryer apple fritters land with crisp, browned edges, a tender middle, and little bursts of cinnamon apple in every bite. The glaze melts into the warm fritters just enough to soften the crust without wiping out that fresh-from-the-air-fryer crunch. They taste like a bakery treat, but they’re light enough to make on a regular breakfast morning.
The trick is keeping the batter thick enough to hold its shape while the apples stay small and evenly diced so they cook through in the short air fryer time. A short rest gives the gluten-free flour blend a chance to hydrate, which keeps the fritters from tasting gritty. The air fryer does the heavy lifting here, but parchment and a good spray of oil are what keep the bottoms from sticking and help the outside brown evenly.
Below, I’ve included the one batter cue that keeps these from spreading, plus the glaze adjustment I use when I want a thinner drizzle versus a thicker finish.
The fritters browned up beautifully in the air fryer and the centers stayed soft without turning gummy. I was worried about the gluten-free batter, but the rest time made a huge difference and the glaze set up perfectly.
Like these gluten-free air fryer apple fritters? Save them for the mornings when you want crisp edges, warm cinnamon apples, and a glaze that drips just right.
The Batter Needs to Stay Thick, Not Pourable
Air fryer fritters fail when the batter turns into a loose apple pancake inside the basket. Gluten-free flour blends need a little structure from the eggs and a short rest to absorb the liquid, so the batter should be scoopable and mound softly off a spoon. If it runs flat in the bowl, it will spread too much and the centers won’t stay tender.
The other thing that matters is the apple size. Finely diced apples soften fast enough to fit the short cook time, while bigger chunks can stay crunchy and throw off the shape. Letting the batter sit for 5 minutes takes the edge off that starchiness and gives you a cleaner, more fritter-like texture.
- Gluten-free all-purpose flour blend — Use a blend that already includes xanthan gum if possible. That helps the fritters hold together in the air fryer instead of breaking apart when you flip them.
- Eggs — These carry the structure here. If you need an egg-free version, a flax egg won’t give the same lift or binding, and the fritters will be denser.
- Oat milk or almond milk — Either one works. Oat milk gives a slightly softer, rounder flavor, while almond milk keeps things a little lighter. Use whichever you keep on hand.
- Apples — Peel them for the softest bite and dice them small, about pea-sized. Firmer apples hold their shape better; softer ones can disappear into the batter.
- Coconut oil — Melted coconut oil adds a little richness without weighing the batter down. Neutral oil works in a pinch, but coconut oil gives a cleaner fritter flavor.
Getting the Crust Golden in the Air Fryer
Preheating the air fryer matters here because the batter starts setting as soon as it hits the basket. If the air fryer is cold, the fritters sit too long before the outside firms up and they can spread. Parchment lined in the basket keeps the bottoms from sticking, and the spray of oil helps the tops brown instead of drying out.
Mixing the Batter
Whisk the dry ingredients first so the baking powder and spices are evenly distributed. When you add the wet ingredients, stir until the flour disappears, then stop. Overmixing makes gluten-free batter tight and gummy, which shows up as a heavy center once the fritters cook. Fold in the apples last so they stay intact.
Shaping for Even Browning
Use about 3 tablespoons of batter per fritter and flatten each mound slightly with the back of the spoon. That little bit of flattening gives the air fryer more surface area to crisp, and it keeps the centers from staying doughy. Spray the tops well before cooking; dry batter tops tend to look pale even when the bottoms are done.
Flipping at the Right Moment
Turn the fritters at around 6 minutes, when the underside is deep golden and the edges feel set enough to lift cleanly. If they still cling to the parchment, give them another minute before trying again. The second side usually browns faster than the first, so watch the color instead of the clock during the last few minutes.
Finishing with the Glaze
Whisk the glaze until smooth and drizzle it over the fritters while they’re still warm. Warm fritters absorb a little of the glaze, which makes the flavor settle in without turning the crust soggy. For a thicker coating, use less milk; for a thin drizzle, add the milk a teaspoon at a time until it ribbons off the whisk.
How to Adapt These Without Losing the Texture
Dairy-Free Glaze That Still Sets
These fritters are already naturally dairy-free if you use oat milk or almond milk in the batter. For the glaze, stick with oat milk for a slightly creamier finish, or use almond milk if you want it thinner and a little sharper. Both set well as long as you don’t thin them too much.
Making Them Sweeter or More Breakfast-Like
If you want a dessert-style fritter, add an extra tablespoon of sugar to the batter and keep the glaze generous. For a more breakfast-forward version, cut the glaze in half and let the cinnamon and apple carry the flavor. The texture stays the same either way.
Using a Different Gluten-Free Flour Blend
Most 1:1 gluten-free blends work, but blends without xanthan gum may need an extra 1 to 2 tablespoons of flour to hold their shape. If your batter looks loose, let it rest a few more minutes before scooping. A thicker batter is safer than one that spreads flat in the basket.
Storage and Reheating
- Refrigerator: Store leftovers in an airtight container for up to 3 days. The glaze will soften the crust a bit, but the flavor stays good.
- Freezer: Freeze the fritters without glaze in a single layer, then move them to a freezer bag for up to 2 months. Glaze them after reheating for the best texture.
- Reheating: Warm them in the air fryer at 325°F for 3 to 5 minutes. The mistake to avoid is microwaving them too long, which turns the centers rubbery and makes the glaze melt off.
Questions I Get Asked About This Recipe
Gluten-Free Air Fryer Apple Fritters
Ingredients
Equipment
Method
- Whisk gluten-free all-purpose flour blend, granulated sugar, baking powder, cinnamon, nutmeg, and salt in a bowl until evenly combined.
- In a separate bowl, whisk eggs, oat milk or almond milk, melted coconut oil, and vanilla extract until smooth.
- Pour the wet ingredients into the dry ingredients and fold until no dry streaks remain.
- Fold in diced apples, then rest the batter for 5 minutes to hydrate the flour.
- Preheat the air fryer to 370F.
- Line the basket with parchment, then spray it with cooking spray.
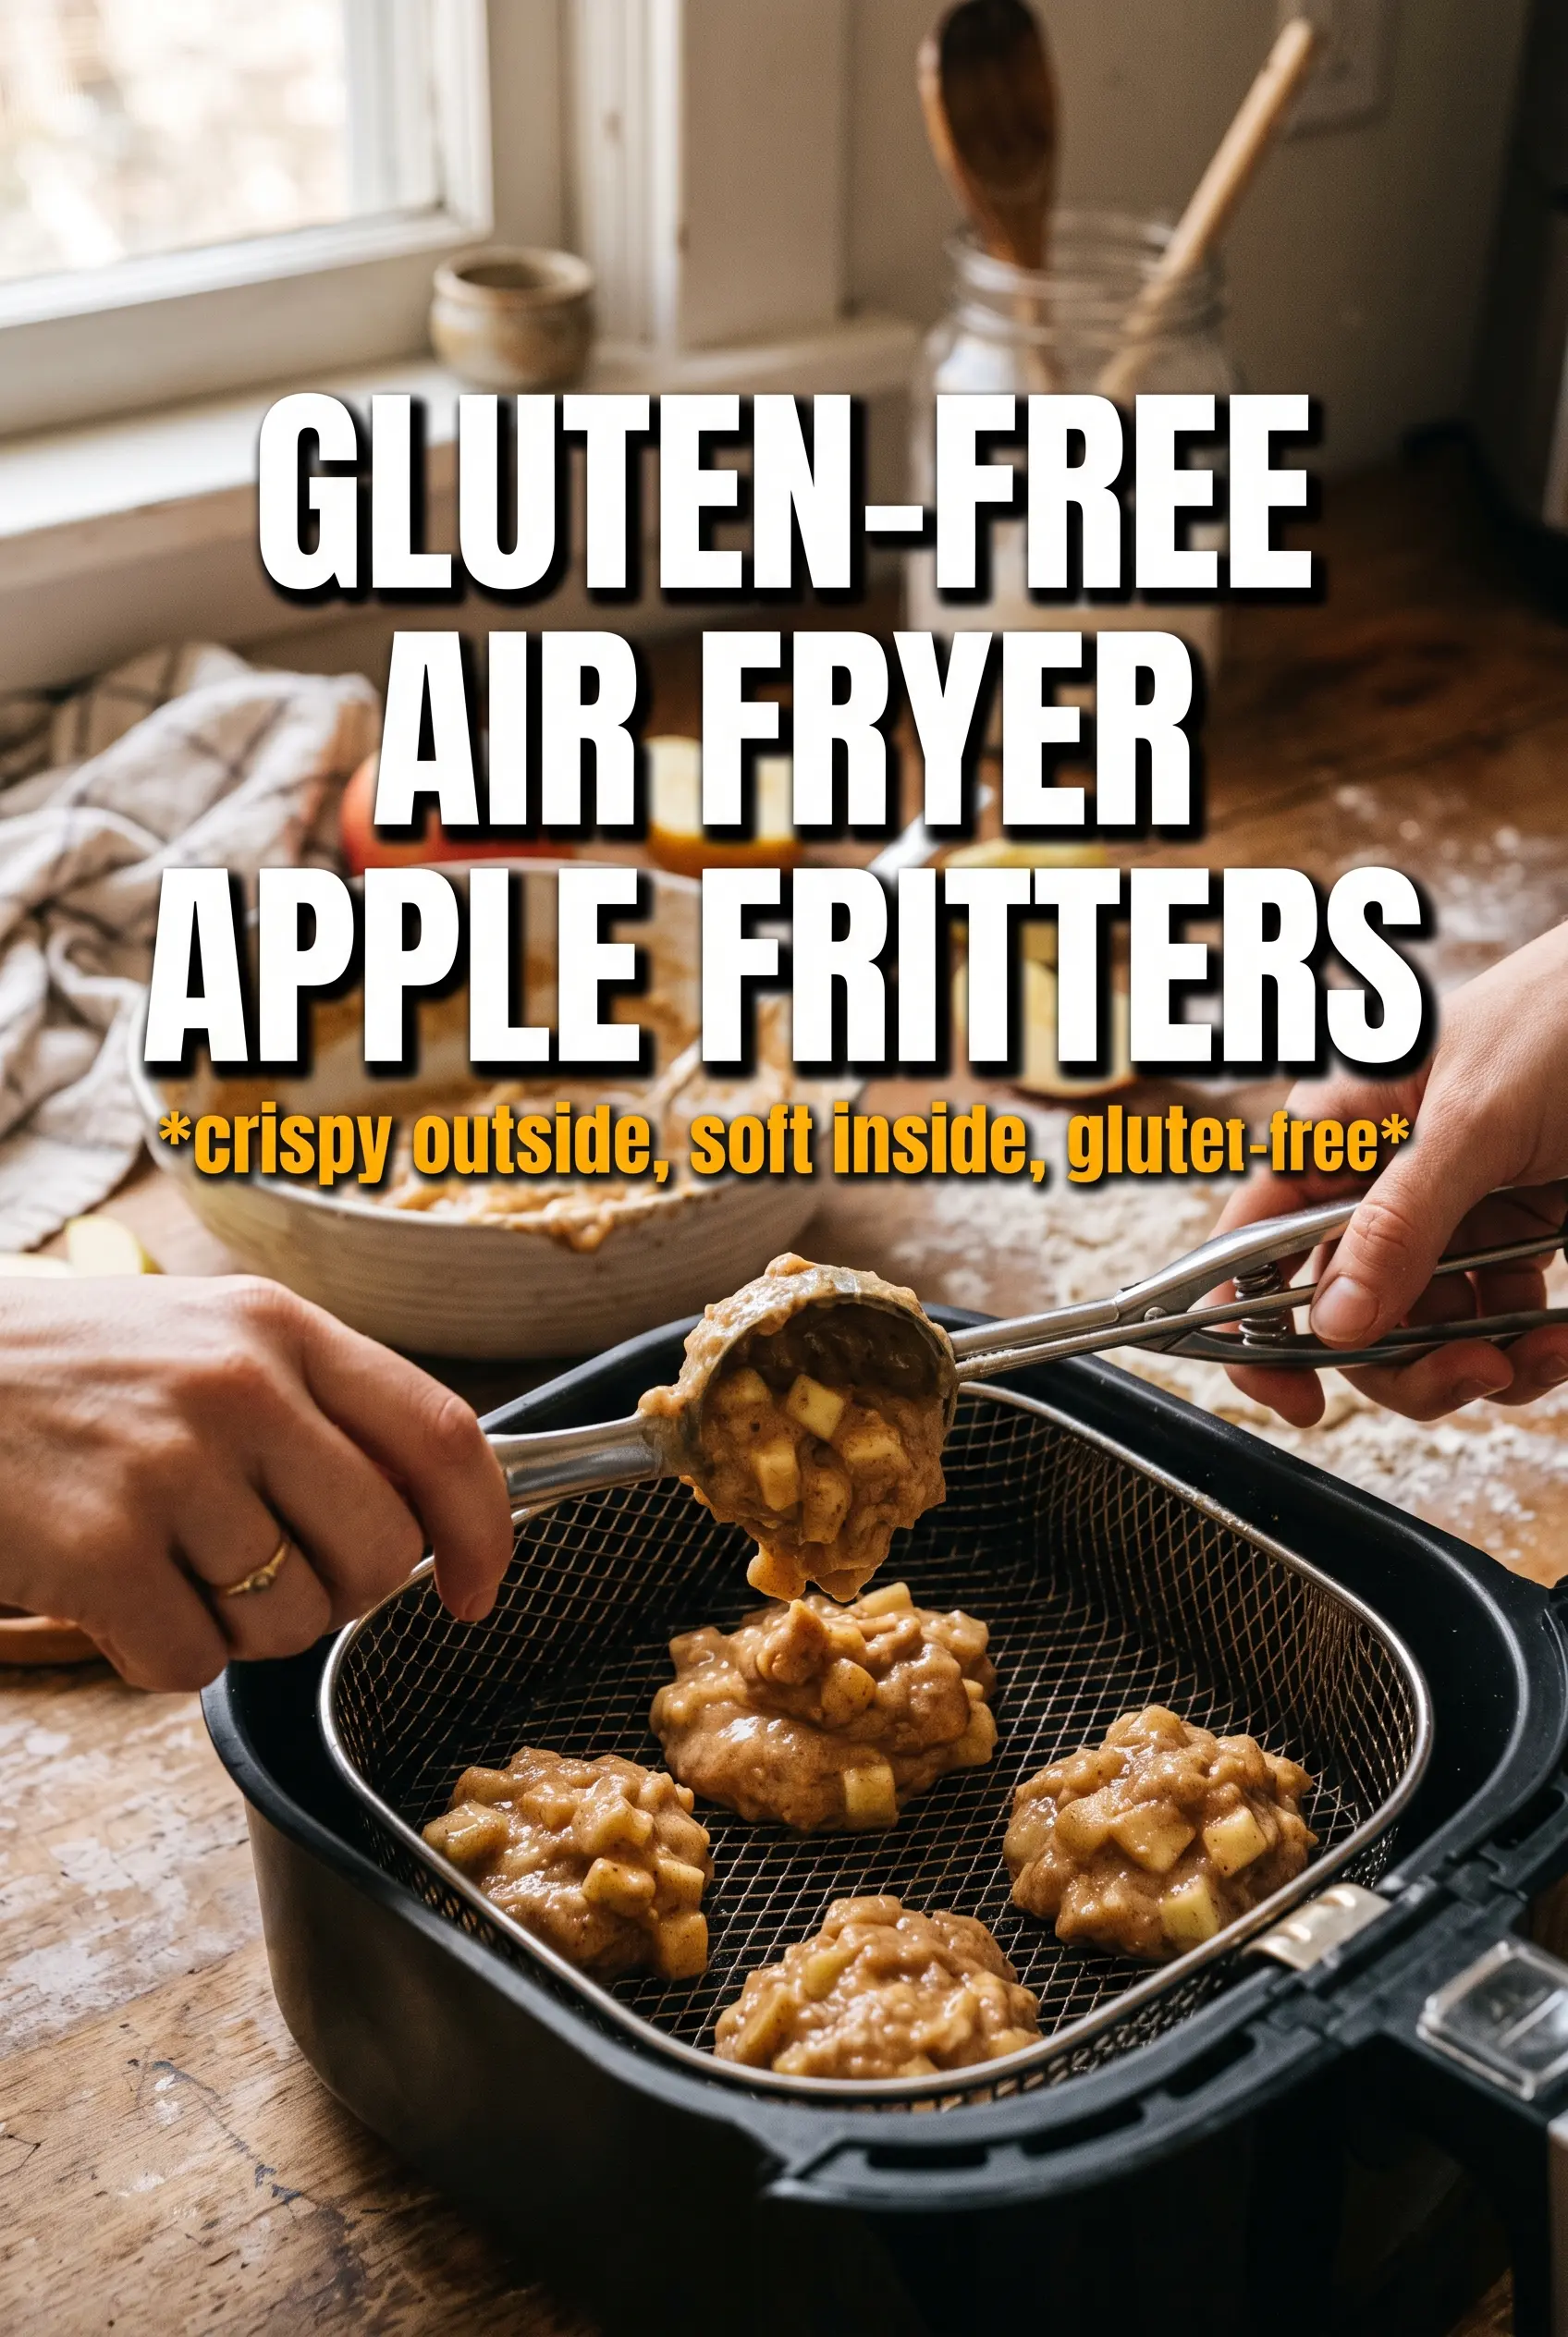
- Drop 3-tablespoon portions of batter into the basket, flatten slightly, and spray the tops with cooking spray.
- Air fry for 6 minutes, then flip the fritters so both sides brown.
- Air fry for an additional 4 to 6 minutes, until the fritters are golden on both sides.
- Whisk powdered sugar, oat milk, and vanilla until smooth and drizzleable.
- Drizzle the glaze over the warm fritters right before serving.