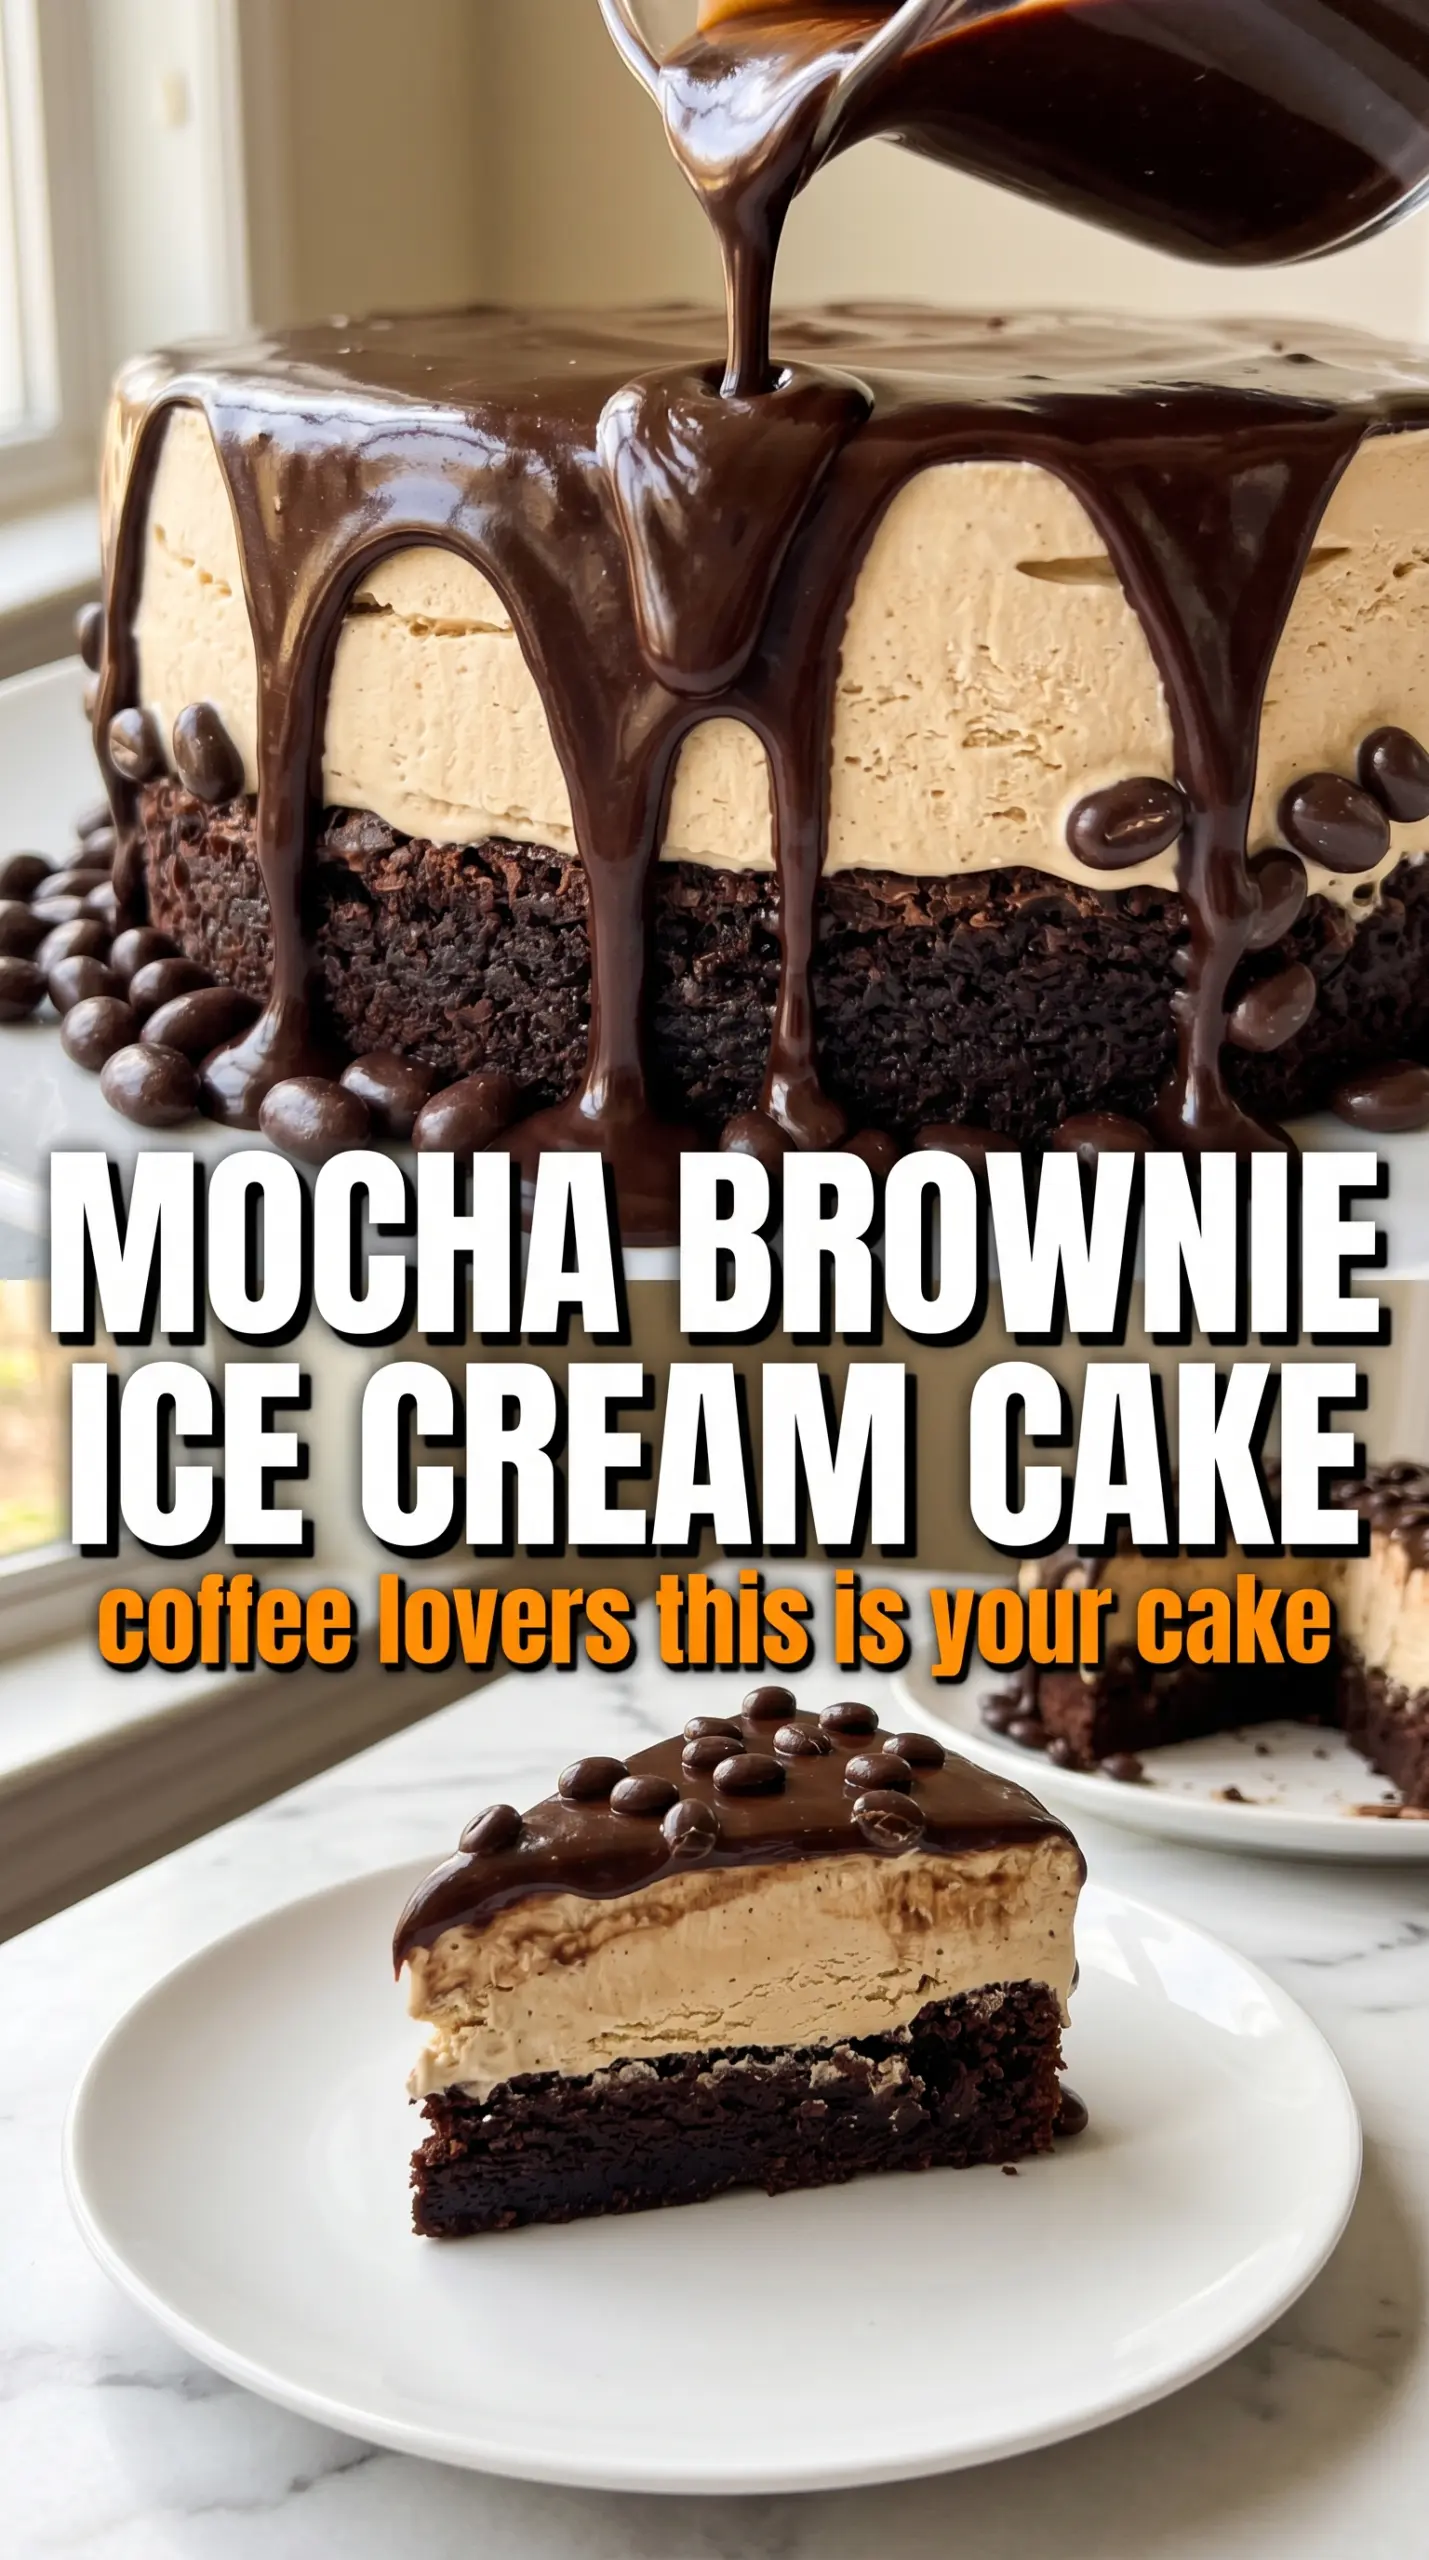
Mocha brownie ice cream cake brings three desserts into one clean slice: a fudgy espresso brownie base, a creamy coffee ice cream center, and a glossy dark chocolate ganache finish. The contrast is what makes it work. You get dense chocolate at the bottom, cold and smooth in the middle, and that sharp mocha hit on top that keeps each bite from feeling flat or overly sweet.
The brownie layer needs to be fully cool before the ice cream goes on, and brushing it with espresso gives the cake that coffeehouse depth without making the base soggy. Softened ice cream spreads into an even layer much more easily than ice cream straight from the freezer, and that matters because any gaps will show once you slice it. The ganache goes on after the cake is firm, not before, so it sets into a neat shell instead of melting through the center.
Below, I’ll walk through the small details that keep the layers distinct, plus the easiest way to adapt the cake for different coffee strengths and make-ahead timing.
The brownie stayed fudgy even after freezing, and the coffee ice cream layer sliced cleanly once it had that full overnight chill. The ganache made it taste like a mocha truffle in cake form.
Save this mocha brownie ice cream cake for the dessert table when you want a dramatic frozen slice with coffee, chocolate, and a glossy ganache finish.
The Part That Keeps the Layers Distinct
The biggest mistake with an ice cream cake like this is rushing the freezer time between layers. If the brownie base is even slightly warm, the ice cream starts to melt on contact and the whole middle turns sludgy instead of layered. The same thing happens if you pour ganache over a cake that hasn’t had enough time to firm up. You don’t get a sharp slice. You get a soft edge and a muddy seam.
That espresso brush on the brownie does two jobs at once. It deepens the chocolate flavor and keeps the base from tasting like plain boxed brownie once everything is frozen. The key is using just enough coffee to soak the surface, not flood it. A light brush is all you need. The brownie should look glossy, not wet.
- Brownie mix — A boxed mix keeps this dessert fast and dependable, and it gives you a sturdy base that still tastes homemade once you add espresso. Any standard fudgy mix works well here.
- Instant espresso powder — This is the ingredient that pushes the chocolate into mocha territory. Coffee extract won’t give the same intensity, and brewed coffee alone doesn’t dissolve into the batter as evenly.
- Coffee ice cream — Use a brand you actually like eating on its own, since the flavor sits right in the center of the cake. If the coffee flavor is mild, the finished cake will taste more like chocolate with a hint of coffee than full mocha.
- Dark chocolate ganache — A thicker ganache sets into a clean top layer and gives the cake a sharp, polished finish. If yours is runny, let it cool until it lightly coats a spoon before pouring.
- Whipped cream — This is more than decoration. It softens the edge of the ganache and gives you a little creamy lift with each bite.
What Each Ingredient Is Actually Doing in This Ice Cream Cake
- Base layer (cookies, cake, or graham cracker) — This provides structure and stability. Crushed and mixed with butter creates a firm foundation.
- Ice cream (the main star) — Use quality ice cream or make homemade. Softness matters for layering.
- Sauce or topping between layers (fudge, caramel, or fruit) — This adds moisture, flavor, and prevents dryness. Don’t skip this layer.
- Frosting or whipped cream (optional outer layer) — This prevents freezer burn and adds creaminess. Stabilized whipped cream works best.
- Freezing time (at least 4-6 hours) — This sets the layers so cake slices cleanly. Longer freezing prevents melting during serving.
- Room temperature before serving (5-10 minutes) — This softens the cake slightly for better texture. Serve immediately after thawing.
- Toppings (chocolate, nuts, cookies, or sprinkles) — These add visual appeal and texture. Add right before serving.
- Storage (in freezer at 0°F or below) — This prevents ice crystal formation and maintains quality. Cover with plastic wrap.
Building the Cake Without Melting the Center
Baking the Espresso Brownie Base
Bake the brownie in a 9-inch springform pan so you can release the cake cleanly later. The brownies should be set at the edges and still soft in the middle when they come out, because they’ll finish firming as they cool. Let them cool all the way to room temperature before you touch the ice cream layer. If you rush this part, the brownie heat will melt the bottom of the ice cream and you’ll lose that clean middle stripe.
Spreading the Coffee Ice Cream
Let the coffee ice cream soften on the counter until it’s spreadable but not soupy. That texture matters more than speed. Scoop it over the brownie and nudge it into the corners with an offset spatula or the back of a spoon, working from the center outward so you don’t pull crumbs up into the ice cream. Freeze the cake until the surface is firm enough to press lightly without leaving a deep dent.
Pouring the Ganache Finish
Once the ice cream layer is solid, pour the ganache over the top and tilt the pan just enough to spread it to the edges. If the ganache is too warm, it will melt grooves into the ice cream; if it’s too cool, it will clump instead of flowing. The sweet spot is smooth and pourable with a slight body. After the ganache sets, pipe the whipped cream around the edge and finish with chocolate-covered espresso beans for crunch and a clear mocha signal.
Make It Stronger for Serious Coffee Fans
Add the full tablespoon of instant espresso powder to the brownie mix and use a dark-roast coffee ice cream. If you want the coffee flavor to stand out even more, brush the brownie with a slightly stronger espresso shot rather than plain coffee. The result is more grown-up and less candy-sweet.
A Gluten-Free Version That Still Slices Cleanly
Use a gluten-free brownie mix and follow the same layering method. The freezing time becomes even more important here because some gluten-free brownies are a little more delicate when cold. Let the cake sit at room temperature for 8 to 10 minutes before slicing so the base doesn’t crack.
Swap the Coffee Ice Cream for Vanilla
Vanilla ice cream gives you a milder cake with more brownie-and-chocolate focus and less mocha intensity. If you go this route, lean harder on the espresso brush and use a slightly darker ganache so the dessert still tastes layered instead of plain. It becomes a good option for people who want the chocolate without a strong coffee finish.
Storage and Reheating
- Refrigerator: Don’t store this in the fridge for more than 20 to 30 minutes before serving, or the ice cream layer will lose its structure.
- Freezer: Freeze the assembled cake, tightly covered, for up to 1 week for the best texture. After that, the ice cream can pick up freezer flavor.
- Reheating: This cake isn’t reheated. For clean slices, let it stand at room temperature for 8 to 10 minutes, then use a sharp knife dipped in hot water and wiped dry between cuts.
Answers to the Questions Worth Asking
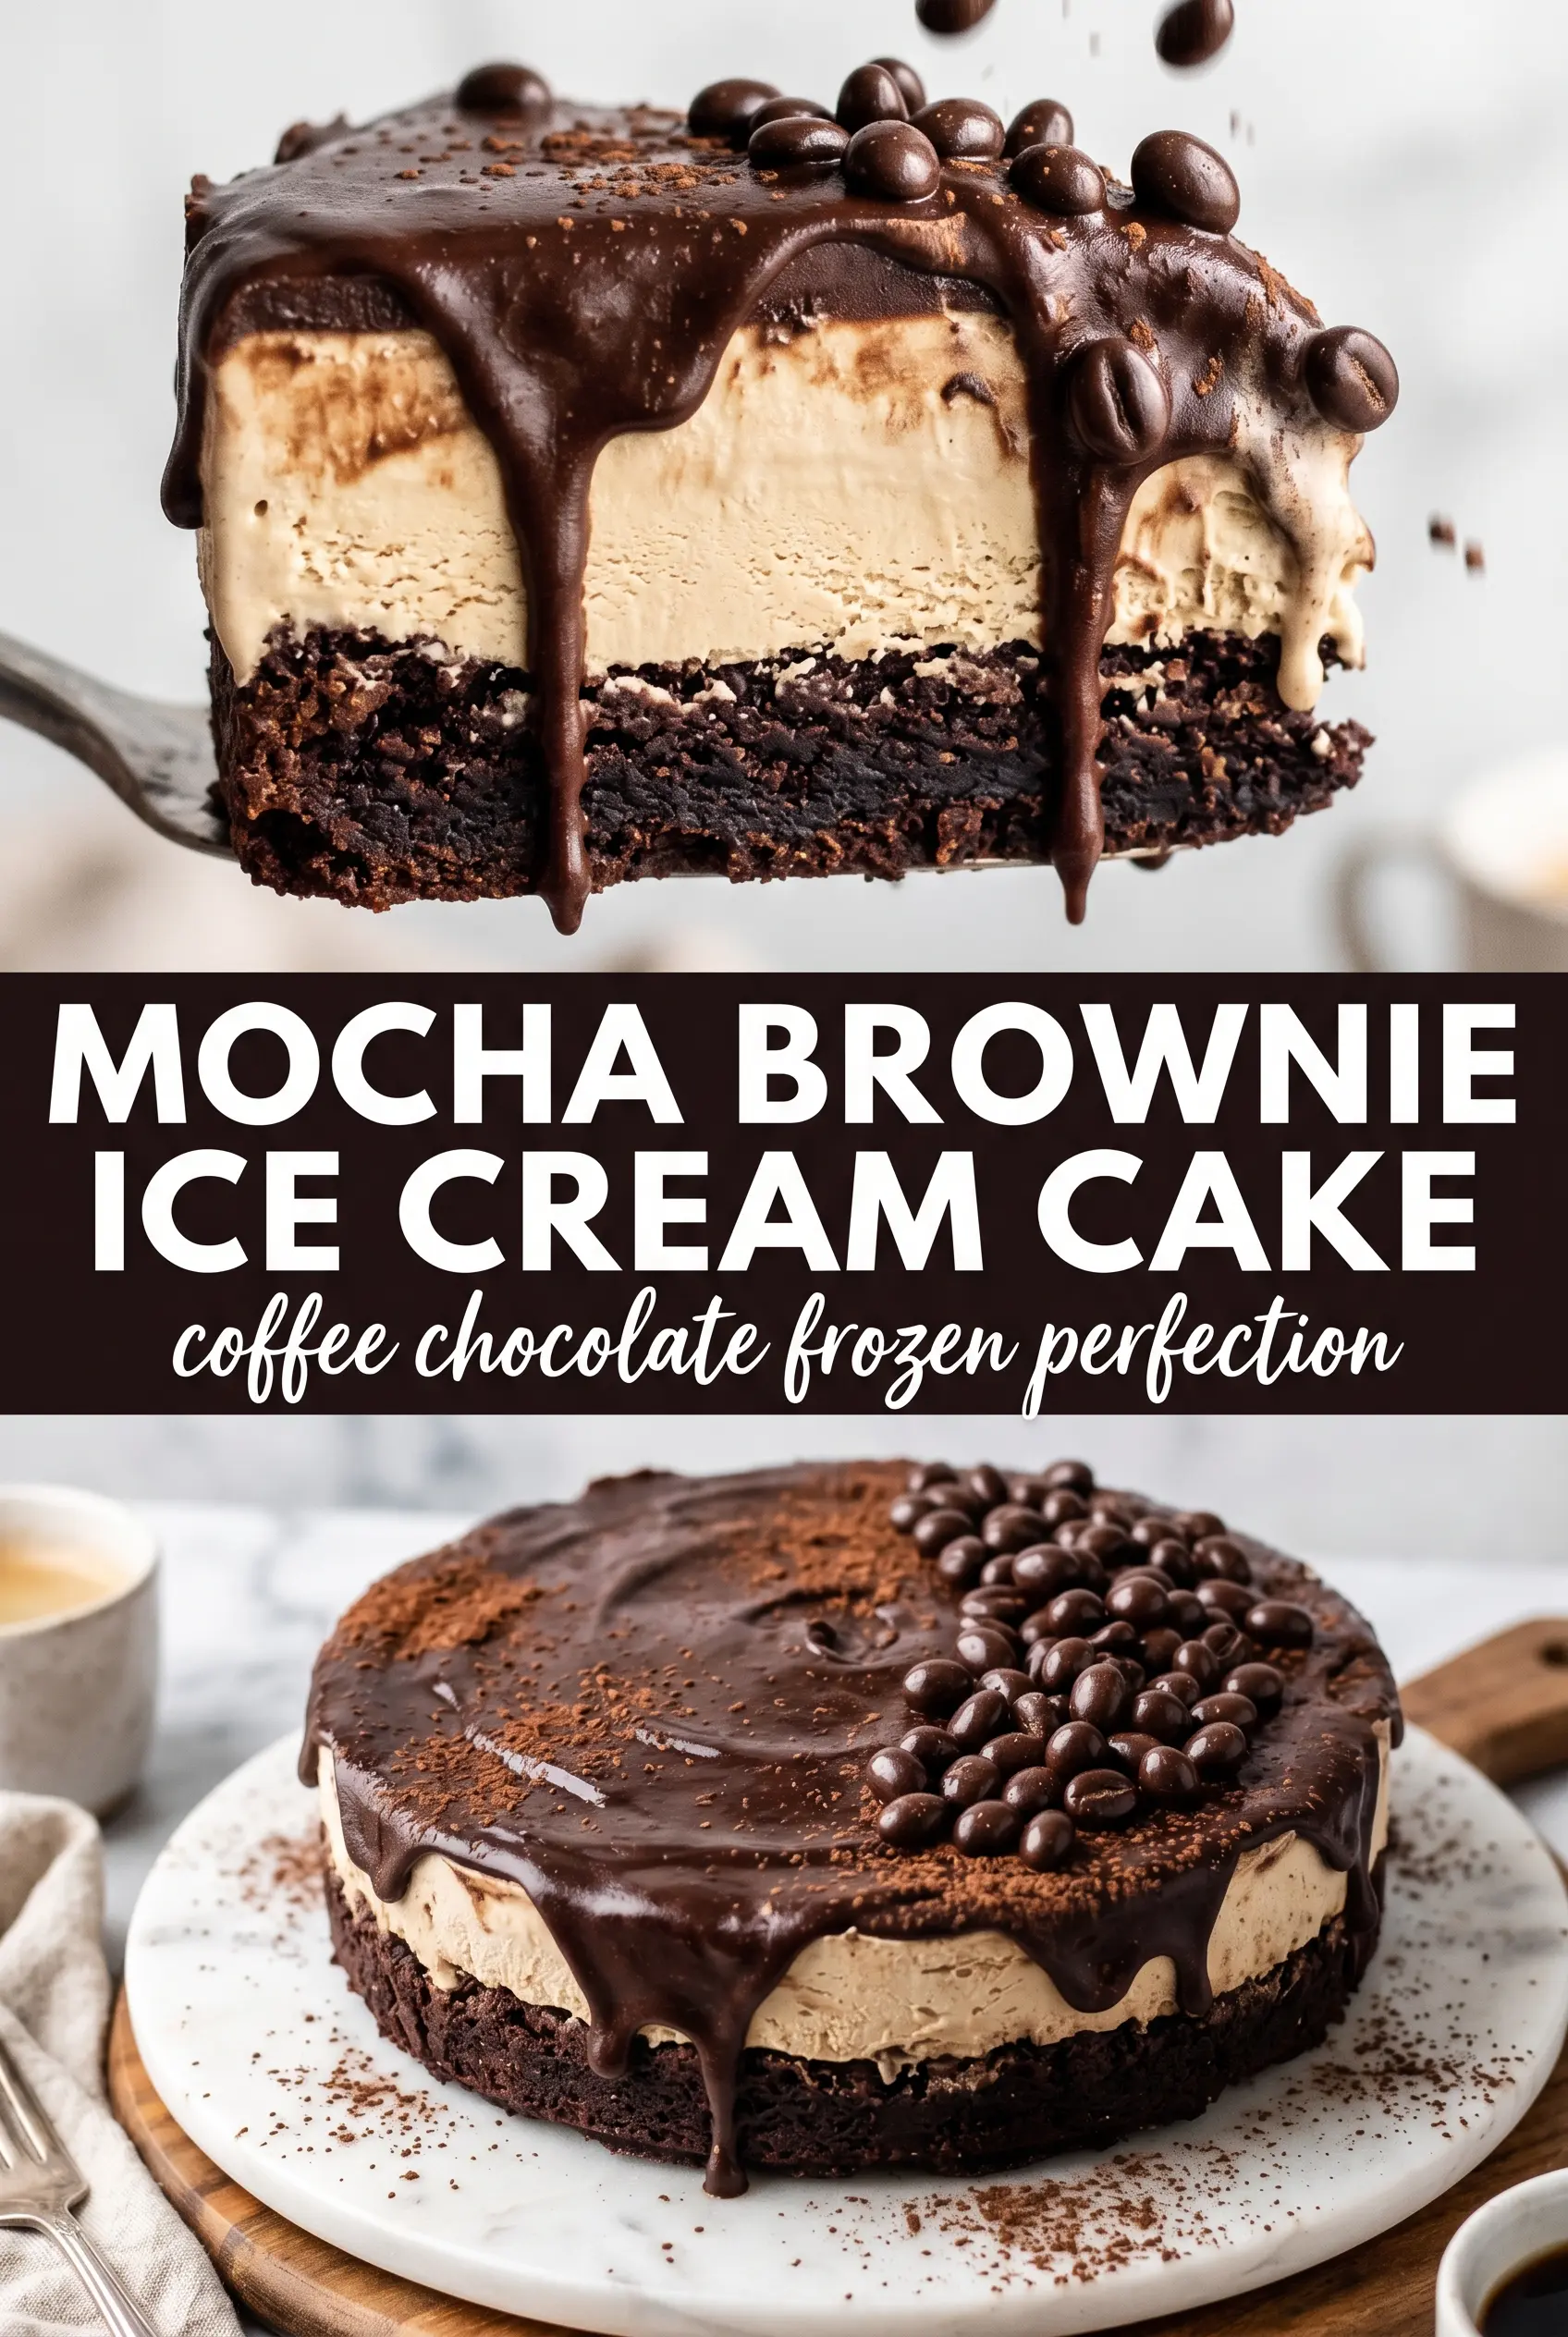
Mocha Brownie Ice Cream Cake
Ingredients
Equipment
Method
- Preheat the oven to the brownie mix package temperature and bake the brownie mix batter for 30 minutes, using instant espresso powder mixed in for an espresso-spiked flavor. Visual cue: the center should look set and the edges should pull slightly from the pan.
- Cool the brownies completely in the 9-inch springform pan before brushing. Visual cue: the brownie surface should be fully cool to the touch with no steam rising.
- Brush the completely cooled brownies with 1/4 cup espresso or strong coffee. Visual cue: you’ll see a light, glossy damp sheen on top.
- Spread the softened coffee ice cream over the brushed brownies and smooth the top evenly. Visual cue: the brownie layer disappears under a uniform pale coffee-ice-cream surface.
- Freeze for 4 hours to firm the ice cream. Visual cue: the surface should look solid and matte, not soft or wavy.
- Pour the dark chocolate ganache over the frozen cake and tilt the pan to cover the top. Visual cue: the ganache forms a smooth, dark layer with no visible ice cream peeking through.
- Freeze for 2 more hours to set the ganache. Visual cue: the ganache should look fully set and slightly firm when touched near the edge.
- Pipe whipped cream around the edge and on top for a defined border. Visual cue: swirls hold shape and don’t slump.
- Top with chocolate-covered espresso beans as decoration. Visual cue: espresso beans are evenly scattered across the whipped cream.
- Freeze until serving to keep all layers cleanly sliced. Visual cue: a knife inserted should come out cold and the slice edges should stay intact.