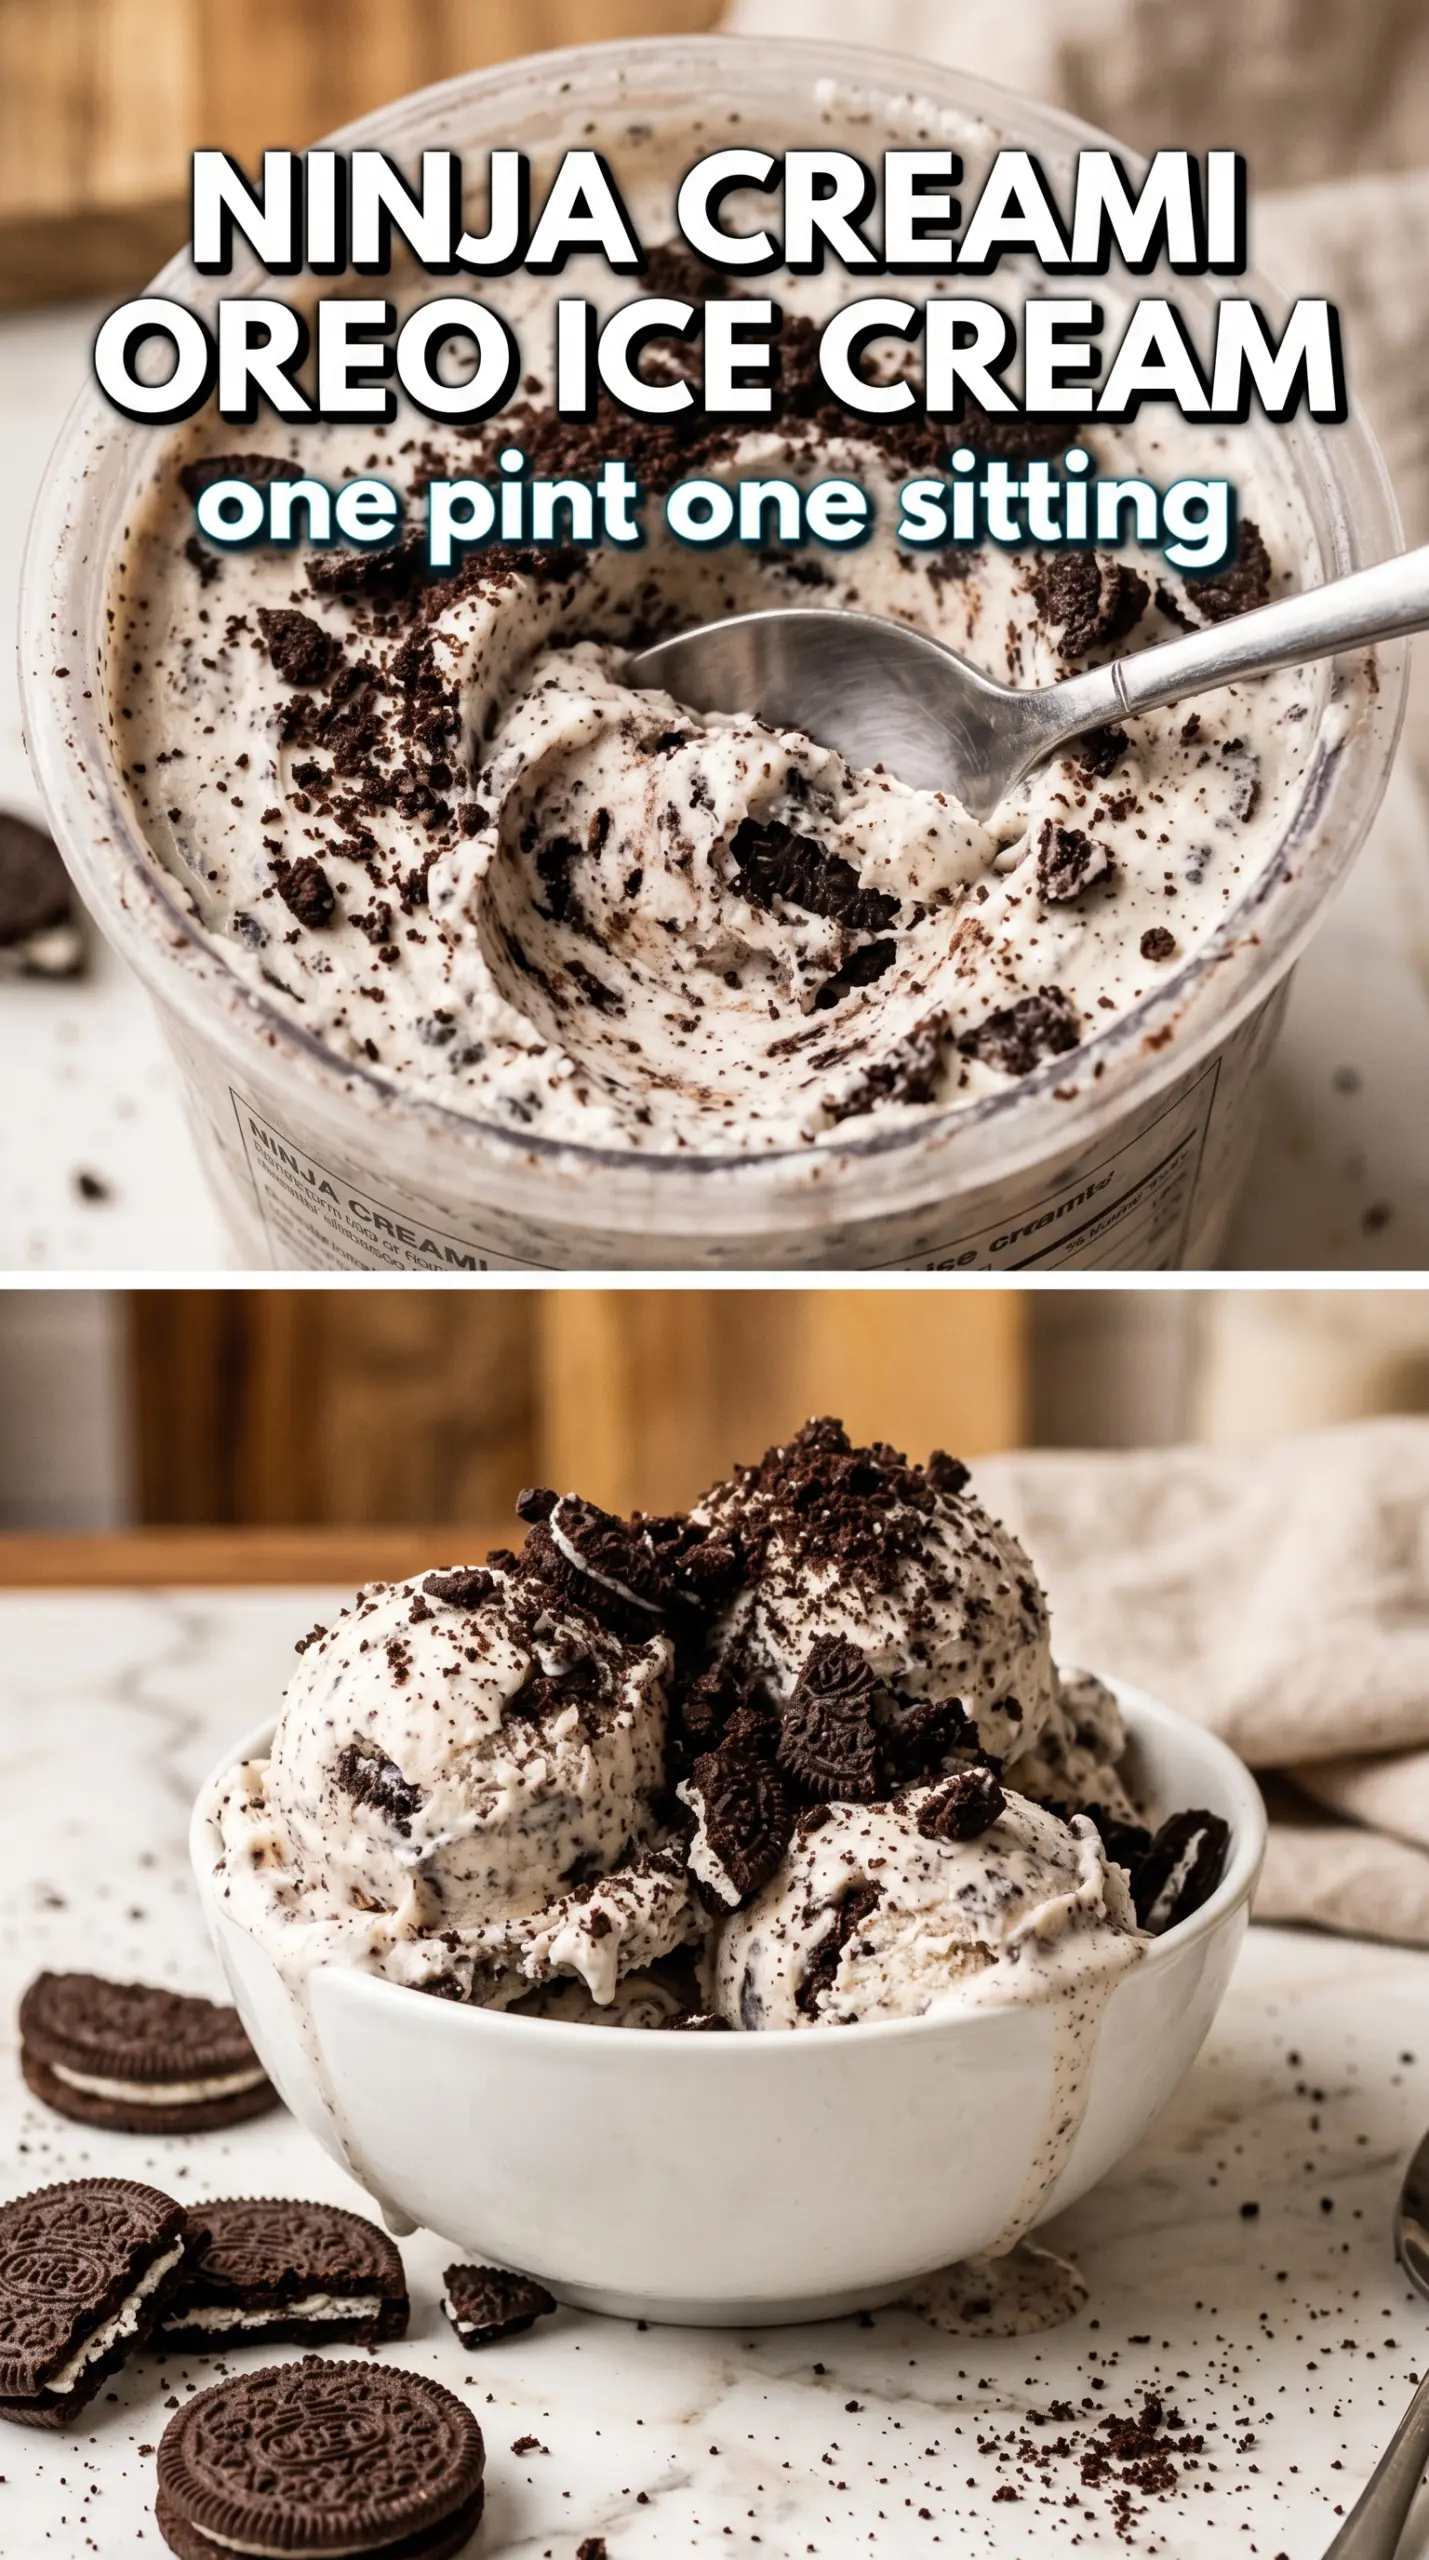
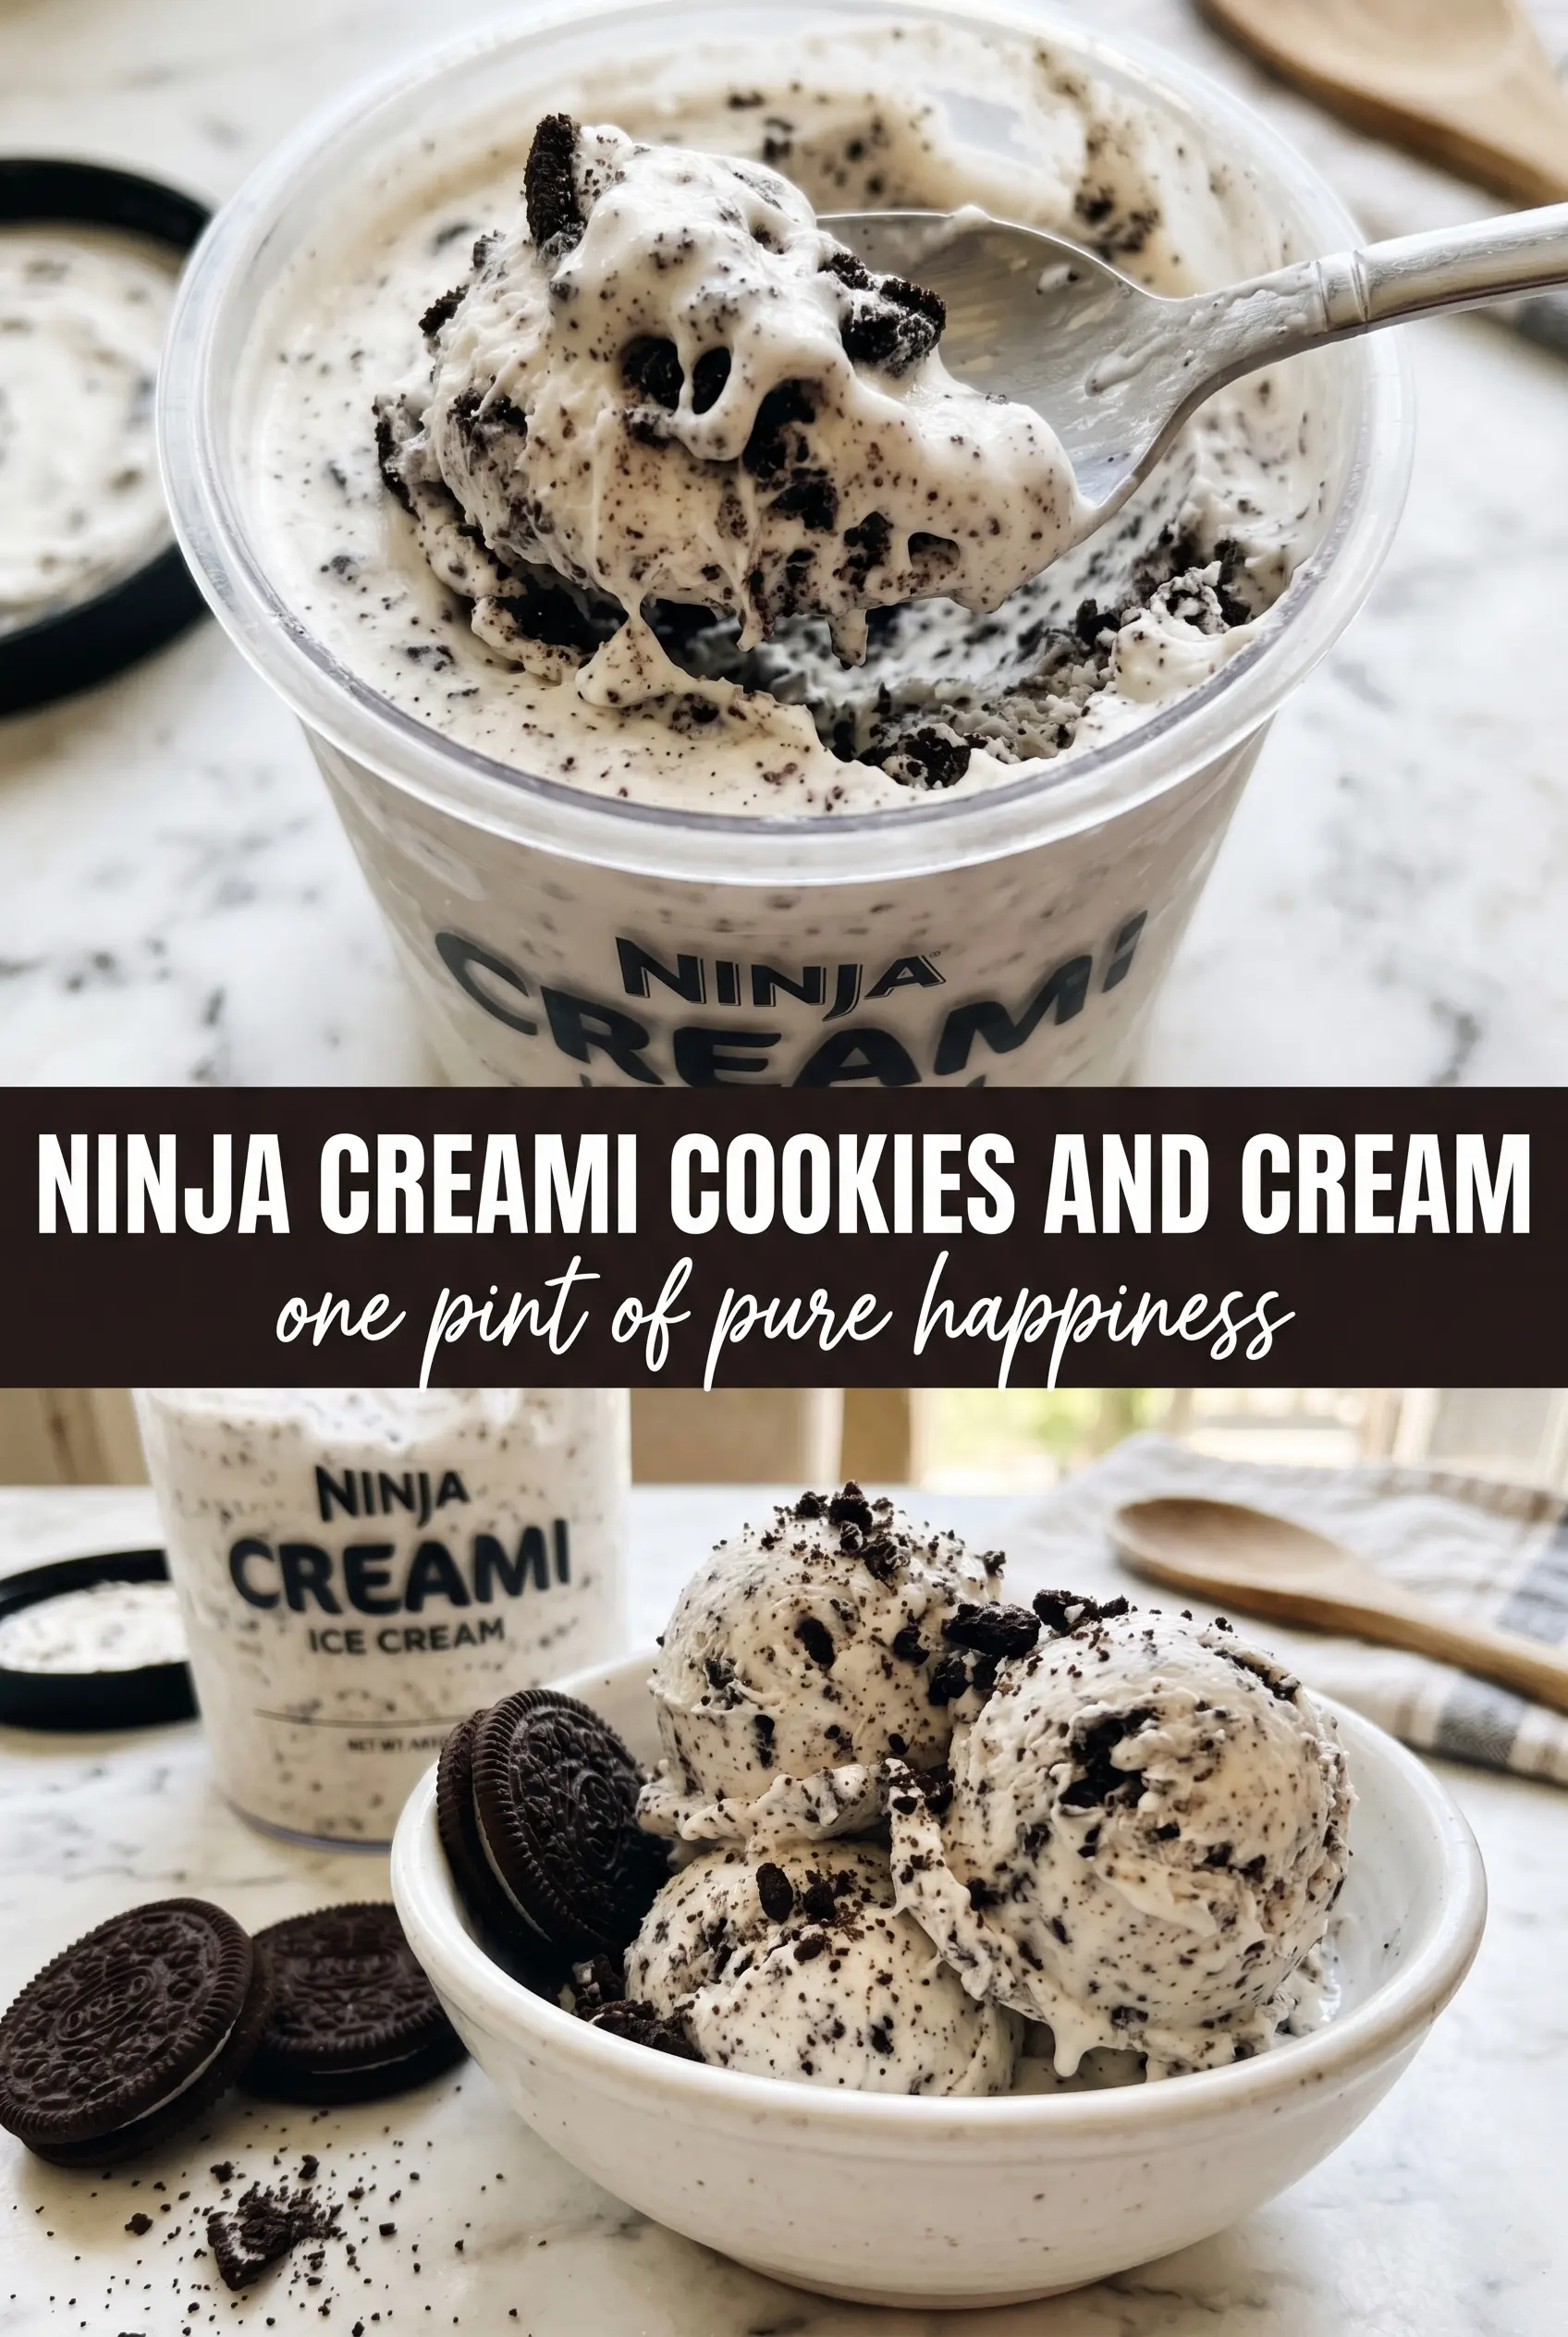
Silky, dense cookies-and-cream ice cream comes out of the Ninja Creami with that classic scoop shop texture when the base is built the right way. The finished pint is cold, creamy, and packed with cookie pieces instead of turning icy or chalky after a night in the freezer. It’s the kind of dessert that disappears fast because each spoonful has both a smooth vanilla-rich base and crunchy chocolate cookie bits.
The part that matters most is the base. Cream cheese gives the mixture a little body and helps it process into something richer than a simple milk-and-cream blend, while the sugar keeps the ice cream from freezing into a hard block. The cookies go in after spinning, not before, so they stay distinct instead of dissolving into the base. That last step is what gives you those clean cookie chunks all the way through.
Below, I’ve included the one freezing detail that makes the biggest difference, plus a few swaps and storage notes for anyone who wants to adjust the recipe without losing that creamy result.
The base spun up smooth on the first pass, and the cookie pieces stayed crunchy instead of turning mushy. I added a splash of milk for the re-spin and it came out exactly like a real ice cream shop pint.
Creamy Ninja Creami cookies and cream with crunchy cookie pieces in every bite — save this pint for your next freezer fix.
The Freezer Time That Keeps This Pint Creamy Instead of Icy
The 24-hour freeze isn’t just a suggestion here. That full day gives the base time to become uniformly solid, which is what the Ninja Creami needs to shave it into a smooth, scoopable texture instead of a slushy middle with icy edges. If the pint is even a little soft in the center, the machine can leave you with a grainy spin and a top that looks done before the inside is ready. The result is a better texture on the first pass and less need to rescue it later with extra milk.
The other mistake people make is freezing the mix without leaving enough space at the top. The base expands as it freezes, and if you fill it too high, you can end up with a warped lid line or a pint that processes unevenly. Keep that headspace, freeze it flat, and let the machine do the work.
What the Cream Cheese and Cookies Are Doing Here
- Whole milk — This gives the base enough water to freeze into ice cream, but not so much that it turns icy. Lower-fat milk will work in a pinch, but the texture won’t be as rich and it may need an extra re-spin.
- Heavy cream — This is where the plush, full-bodied texture comes from. You can swap in half-and-half if you need to lighten it up, but the finished pint won’t have the same dense scoop-shop feel.
- Cream cheese — A tablespoon may not look like much, but it stabilizes the base and gives the ice cream that thicker, almost cheesecake-like body that keeps it from tasting flat. Soften it first or it’ll leave tiny lumps in the mix.
- Chocolate sandwich cookies — Add them only after spinning so they stay crunchy and distinct. If you crush them too fine, they disappear into the base; if you leave them in big chunks, the mix-in cycle spreads them more evenly without turning the pint muddy.
- Vanilla extract — This rounds out the dairy and makes the cookies taste more like cookies and cream than just chocolate bits in sweet cream. Use the real stuff if you have it; the flavor carries through the cold.
Getting the Base Smooth Before It Hits the Freezer
Blending the Dairy
Blend the milk, cream, sugar, softened cream cheese, vanilla, and salt until the mixture looks completely smooth and glossy. Don’t stop when the cream cheese is just broken up; any little lump will freeze into a stubborn speck that the machine won’t fully fix later. The mixture should look like a thin milkshake with no visible flecks. If you can still see cream cheese bits on the side of the blender, scrape them down and blend again.
Freezing the Pint Flat
Pour the base into the Ninja Creami pint container and leave about 1 inch of headspace. Set it on a level freezer shelf so the top freezes flat, not slanted, because an uneven surface can make the first spin scrape one side harder than the other. Freeze for a full 24 hours. If you rush this part, the center stays softer than the edges and the texture won’t process evenly.
Spinning and Re-Spinning
Run the pint on the Ice Cream setting first. If it comes out powdery or crumbly, that usually means the base is too cold for the machine to shave smoothly, not that the recipe failed. Add 1 tablespoon milk down the center, then use Re-spin. That tiny bit of extra liquid loosens the texture just enough to turn those dry crumbs into a creamy pint without making it soupy.
Folding in the Cookies
Add the crushed chocolate sandwich cookies with the Mix-In function after the base is already smooth. That keeps the cookie pieces from breaking down too much and gives you those clean bits throughout the ice cream. If you want bigger chunks, crush them by hand instead of pulsing them into crumbs. Serve right away for the best texture, because the cookies stay crispest in the first few minutes after mixing.
How to Adapt This Pint Without Losing the Creamy Texture
Dairy-Light Version
Swap the heavy cream for half-and-half if you want a lighter pint, but expect a softer freeze and a less luxurious mouthfeel. The cream cheese becomes even more important in this version because it helps keep the base from tasting thin. You may need a re-spin with a little extra milk after processing.
Gluten-Free Cookies and Cream
Use your favorite gluten-free chocolate sandwich cookies in place of the regular ones. The mix-in step works the same way, though some gluten-free cookies soften faster once they’re folded in. If you want more crunch, add them right before serving instead of letting the pint sit after mixing.
Extra Cookie Crunch
If you like bigger cookie pieces, reserve half of the cookies and fold them in by hand after the Mix-In cycle. That gives you a mix of fine bits and larger chunks, which makes the texture more interesting without overloading the pint. Too many large pieces at once can make the machine uneven, so split the mix-in if needed.
Storage and Reheating
- Refrigerator: Not recommended. The texture melts fast and won’t hold well once it leaves the freezer.
- Freezer: Store the processed pint with the lid on for up to 2 weeks. The cookie pieces soften over time, but the base itself still freezes well.
- Reheating: Let the pint sit at room temperature for 5 to 10 minutes before re-spinning leftovers. If it’s rock hard, a quick re-spin with 1 tablespoon milk brings it back without turning it loose and soupy.
Answers to the Questions Worth Asking
Ninja Creami Cookies and Cream
Ingredients
Equipment
Method
- Blend whole milk, heavy cream, granulated sugar, softened cream cheese, vanilla extract, and salt until completely smooth with no cream cheese streaks visible.
- Pour the mixture into the Ninja Creami pint container, leaving about 1 inch of headspace at the top.
- Freeze the pint for 24 hours, until fully firm through the center with an icy, solid texture.
- Process on the Ice Cream setting to churn into a dense, creamy white texture with a smooth surface after processing.
- If the pint is too firm, add 1 tablespoon milk, then Re-spin to correct the consistency and achieve a smooth churn.
- Use the Mix-In function to fold in crushed chocolate sandwich cookies so cookie pieces are evenly distributed throughout the ice cream.
- Serve immediately for the best creamy texture, or return the pint to the freezer if you want it firmer for later.