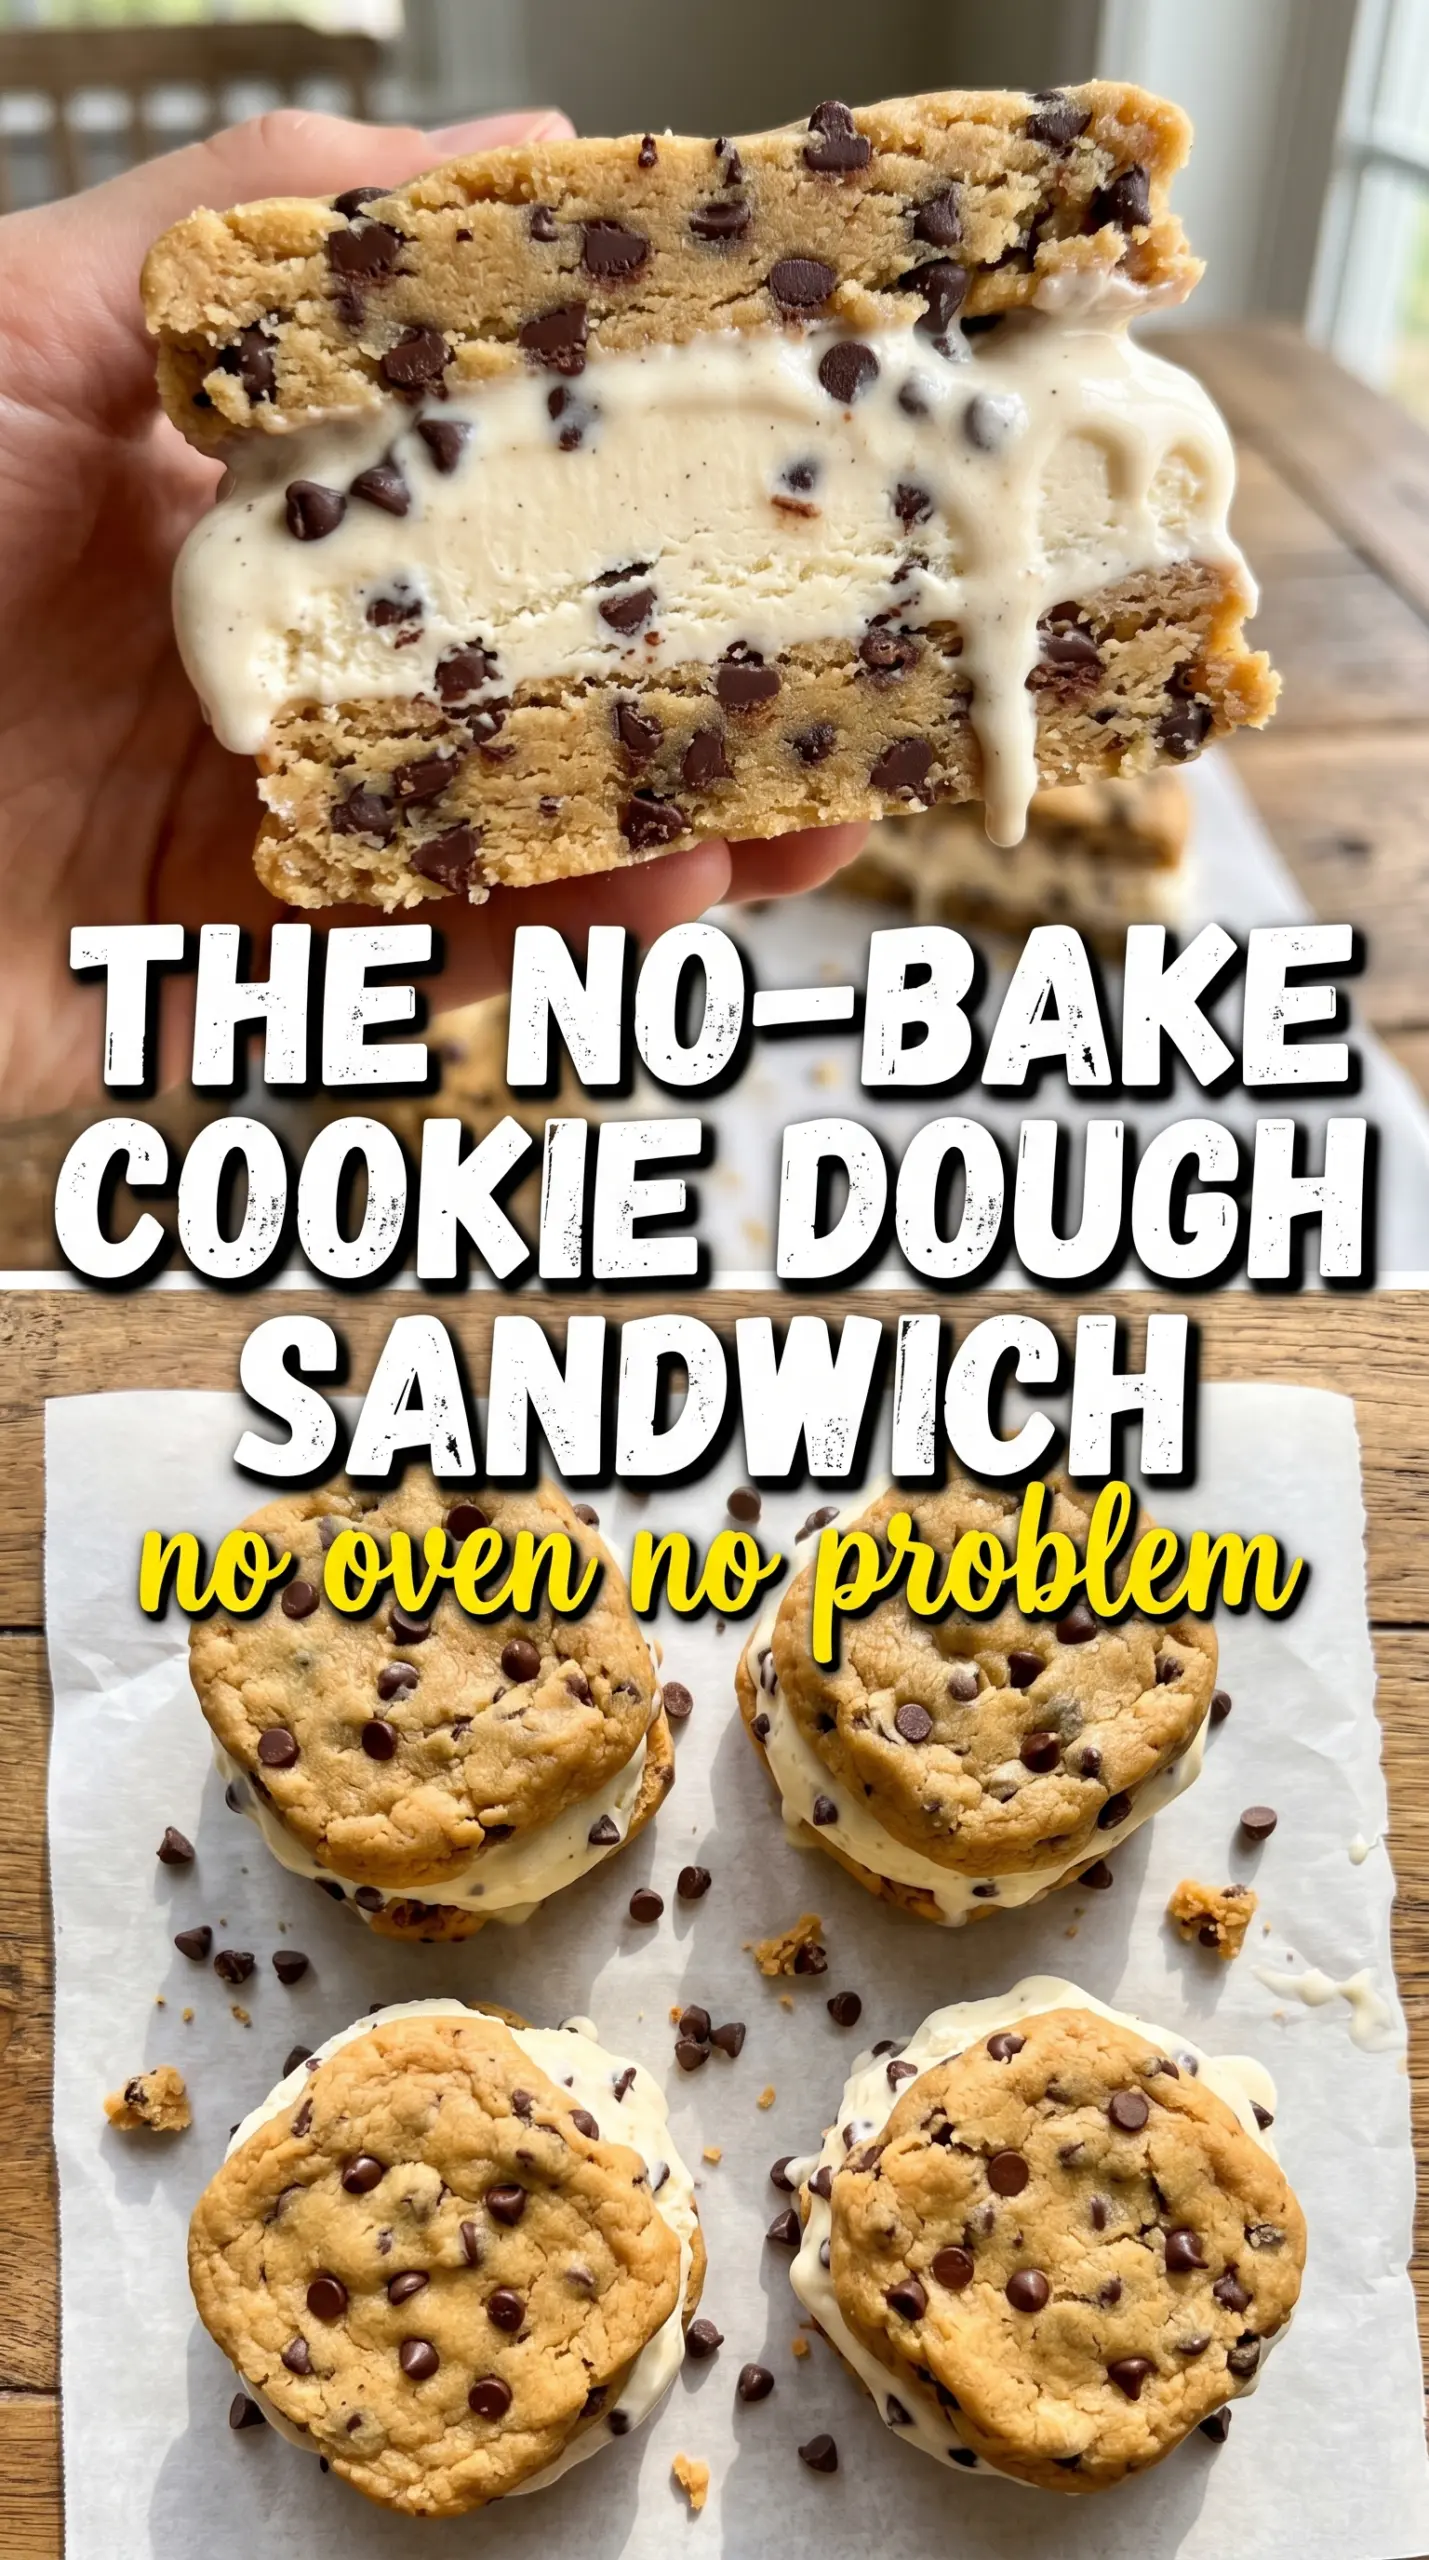
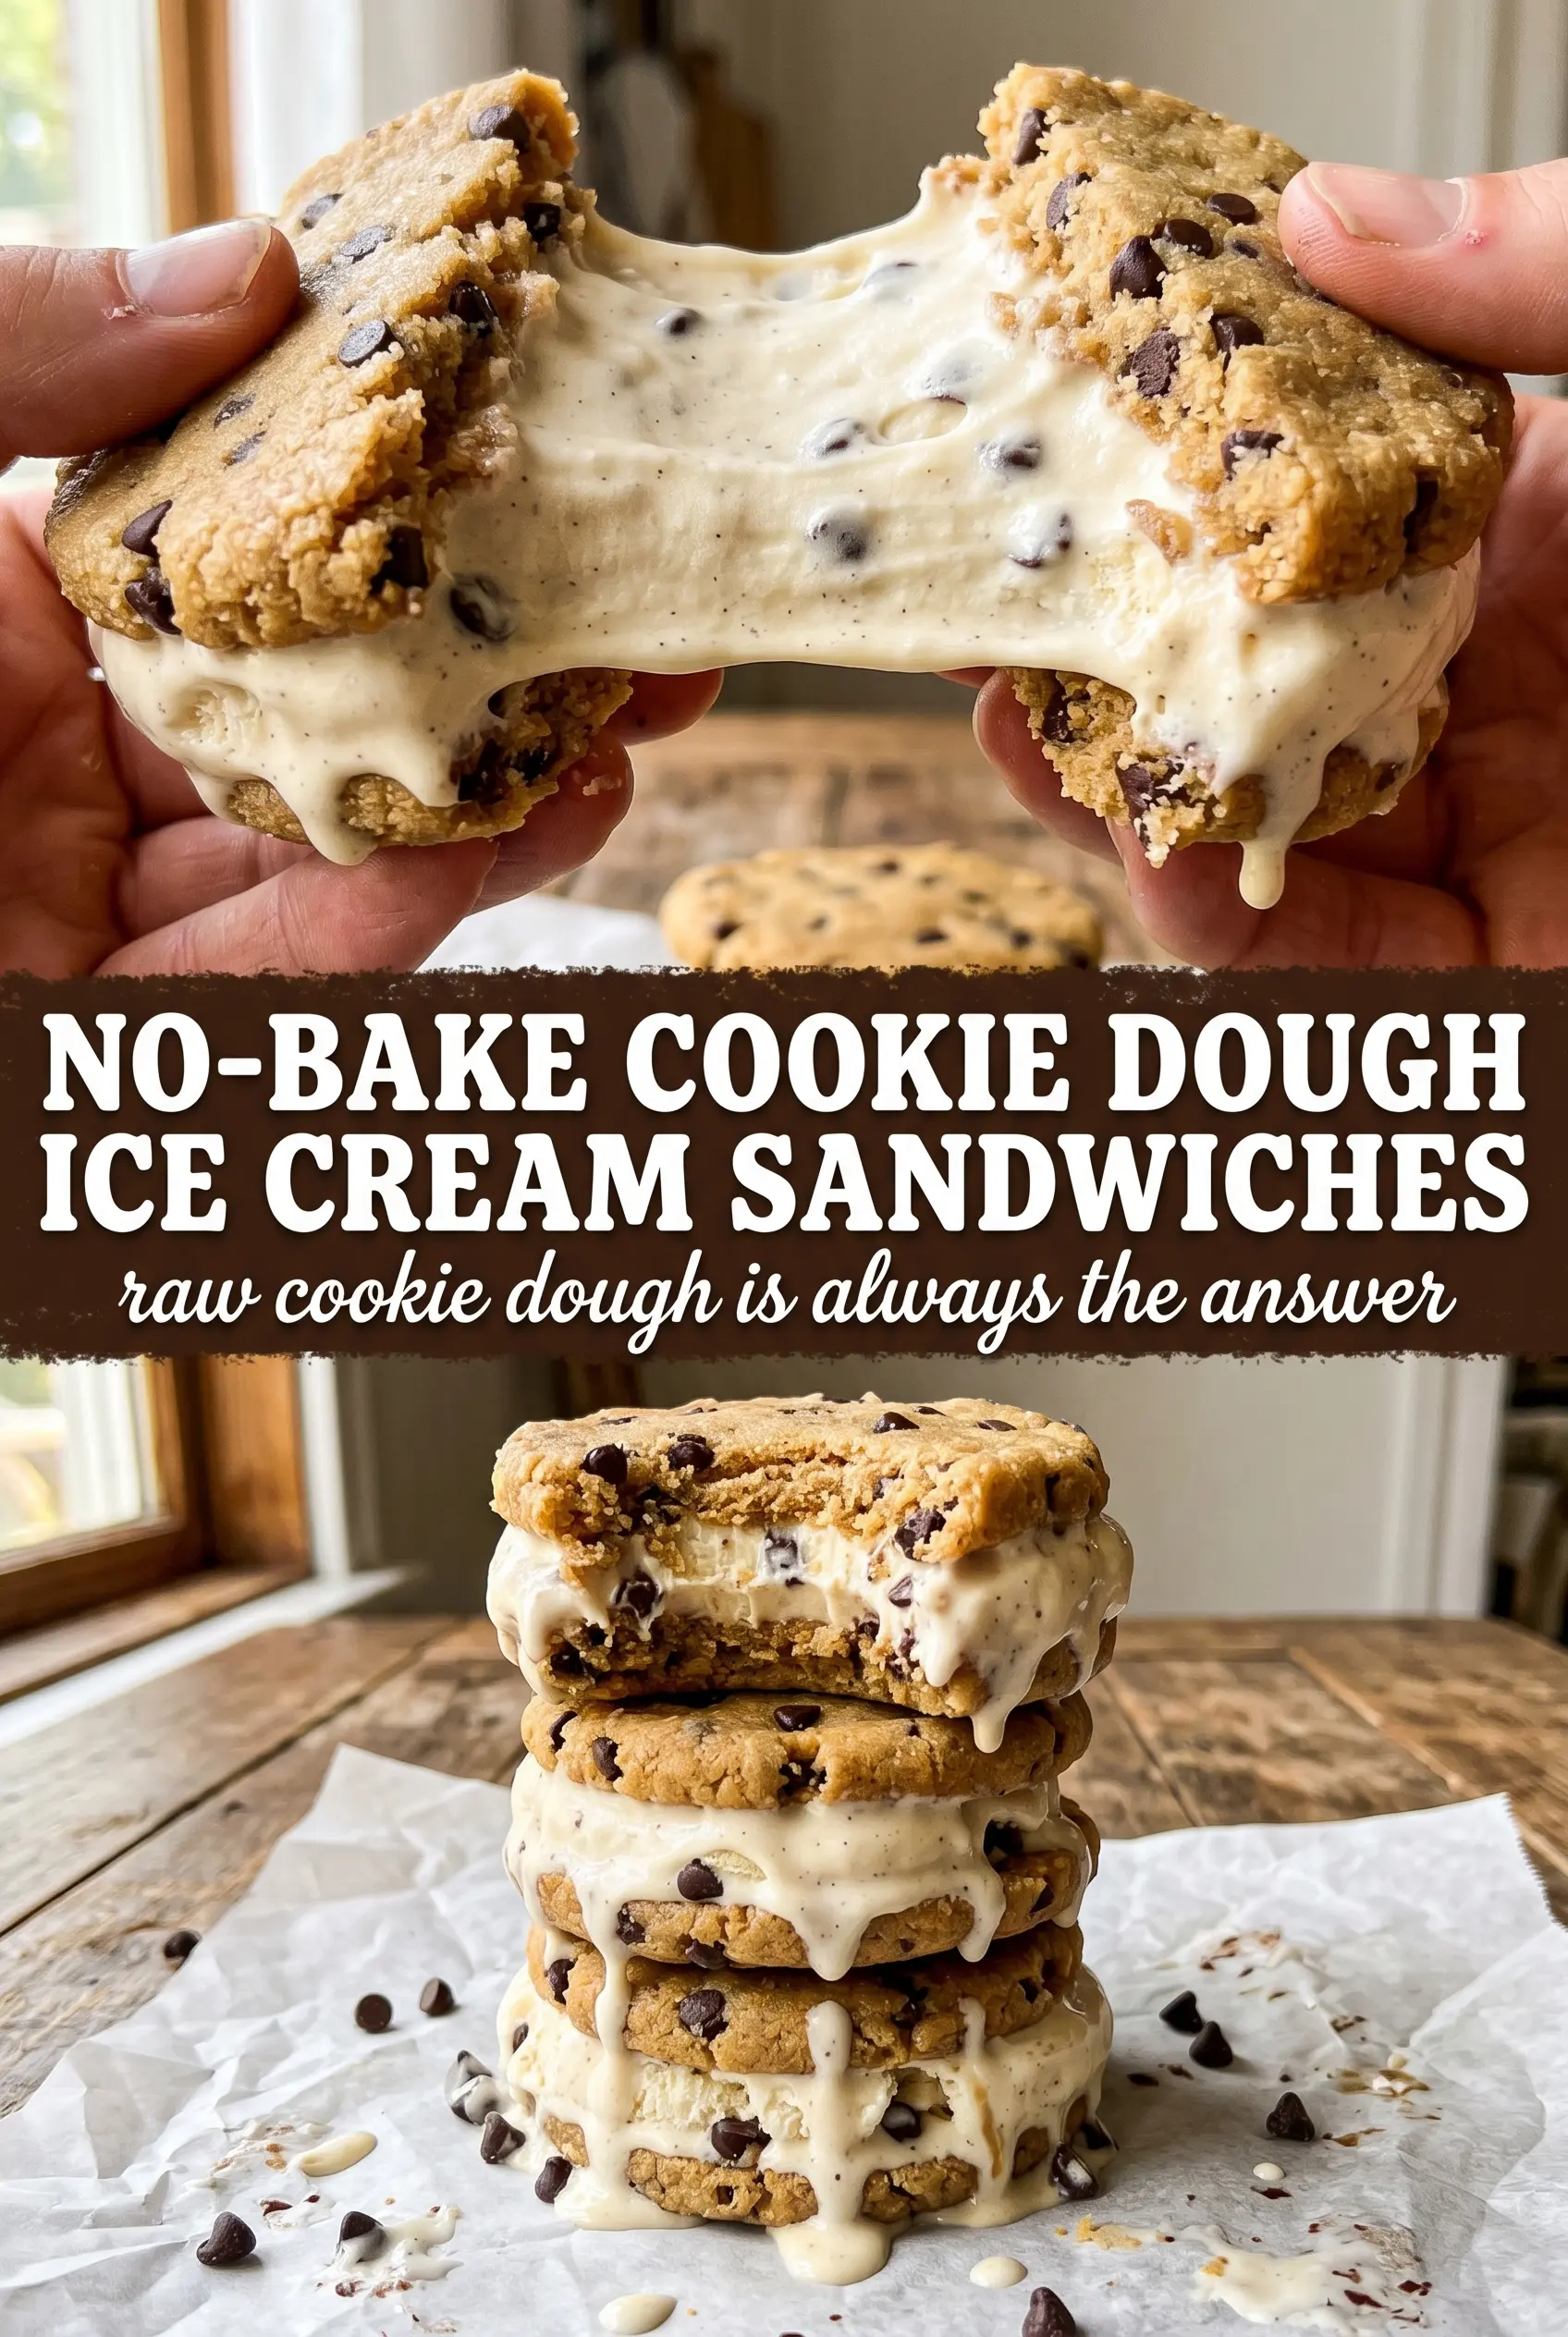
Thick slabs of edible cookie dough and a generous layer of vanilla ice cream make these sandwiches the kind of frozen dessert people remember after the first bite. The dough stays soft and bendable instead of icy-hard, so you get that classic cookie dough texture right from the freezer, with enough structure to hold clean slices and neat edges.
The trick is in the dough itself. Heat-treated flour keeps it safe to eat, and the butter-sugar base gets beaten until fluffy so the finished layer tastes rich instead of dense. A short freeze before assembling helps the dough firm up just enough to stack with the ice cream without squishing into the filling. Once the sandwiches are set, they slice best with a warm knife, which keeps the edges tidy instead of dragging the ice cream out of the center.
Below, I’ve included the small details that keep the layers even, plus a few ways to adjust the texture or make them ahead for a party tray or freezer stash.
The dough froze up just enough to slice cleanly, but it still stayed soft when you bit into it. I loved that the ice cream layer didn’t squeeze out the sides like most homemade sandwiches.
Save these no-bake cookie dough ice cream sandwiches for the days when you want a frozen dessert with soft cookie dough layers and clean, bakery-style slices.
The Part That Keeps Edible Dough from Turning Dense and Gritty
The biggest mistake with cookie dough ice cream sandwiches is treating the dough like a batch of bakeable cookies. It needs enough structure to freeze into slabs, but it should still taste soft and scoopable once thawed for a minute or two. That’s why the butter and sugars get whipped first. You’re building a lighter base before the flour goes in, which keeps the final layer from feeling heavy or sandy.
Heat-treating the flour matters here. Raw flour can carry bacteria, and this recipe depends on the flour being safe to eat without baking. Once the flour is mixed in, stop as soon as the dough comes together. Overmixing after the flour hits the bowl makes the dough tight, which is the last thing you want in a frozen sandwich.
- Softened butter — This gives the dough its creamy, pressable texture. Cold butter won’t whip properly, and melted butter makes the dough greasy instead of thick.
- Brown sugar — This is what gives the dough that classic cookie dough taste and a little chew. Packed brown sugar also helps the mixture hold together after freezing.
- Heat-treated flour — Don’t skip the cooling step after baking it. Warm flour can melt the butter base and make the dough sticky before it ever sets.
- Mini chocolate chips — Mini chips distribute more evenly through the dough than regular chips, so every bite feels balanced and the slabs press together more cleanly.
What Each Layer Is Doing Before You Stack It
- All-purpose flour — Heat-treat it at 350°F for 5 minutes, then cool it completely. That step is what makes the dough safe to eat and keeps the texture dry enough to press into neat layers.
- Whole milk — This loosens the dough just enough to keep it from cracking when you spread it into the pan. Lower-fat milk works, but whole milk gives a softer, more rounded dough flavor.
- Vanilla extract — Vanilla carries through both the dough and the ice cream, so the whole sandwich tastes cohesive instead of like two separate desserts. Use the real stuff if you have it.
- Vanilla ice cream — Slightly softened ice cream spreads without tearing the dough layer underneath. Let it sit just until it’s scoopable, not melty, or the sandwiches will freeze unevenly and slump at the edges.
Building the Layers So They Freeze Flat and Slice Clean
Make the Dough Base First
Beat the softened butter with both sugars until the mixture looks pale and fluffy, not grainy. That texture matters because it keeps the final dough from setting up like a brick. Add the milk, vanilla, and salt, then stir until the mixture looks smooth and glossy. Once the heat-treated flour goes in, mix only until a dough forms. If it looks crumbly, keep stirring in short bursts; if it turns shiny and greasy, the butter was too soft and the dough will need a longer chill.
Press and Chill the Slabs
Divide the dough in half and press each portion into a parchment-lined 9×13 pan in an even layer. Aim for about 1/2 inch thick so the sandwiches stay substantial without becoming hard to bite through. The parchment is important here because it lets you lift the frozen slab cleanly later. Freeze both layers for 30 minutes until firm to the touch; if you try to assemble too soon, the ice cream will catch on the dough and tear the surface.
Stack the Ice Cream Layer
Spread the softened vanilla ice cream over one frozen dough slab in an even 1-inch layer. Work quickly and use an offset spatula or the back of a spoon to push the ice cream into the corners without digging into the dough. Flip the second slab on top and press gently so the layers bond, but don’t squash it down. The goal is a tight stack, not a compressed block.
Freeze, Slice, and Serve
Freeze the assembled slab for at least 2 hours until completely firm. For clean cuts, run a sharp knife under hot water, wipe it dry, then slice straight down without sawing. If the knife starts dragging, warm it again before the next cut. Serve right away for the softest cookie dough texture, or wrap the sandwiches individually and keep them in the freezer for later.
How to Adjust the Texture, the Sweetness, or the Freezer Time
Use chocolate ice cream for a deeper cookie dough flavor
Chocolate ice cream makes these taste closer to a classic cookie dough-and-chocolate pairing, but it also makes the filling a little firmer when frozen. Let it soften just enough to spread, or the dough layer underneath can crack as you press it down.
Make them gluten-free with a 1:1 baking flour blend
A good cup-for-cup gluten-free baking blend works well here because the dough isn’t being baked. The texture will be a little more tender and less stretchy, but it still freezes into neat slabs.
Add chopped nuts for a crunchier bite
A small handful of finely chopped pecans or walnuts adds texture, but keep the pieces small so the layers still press together smoothly. Big chunks make slicing harder and can cause the top slab to crack.
Store them as individual sandwiches for easier serving
Once sliced, wrap each sandwich tightly in parchment or wax paper, then place them in a freezer bag. That keeps the edges from drying out and lets you grab one at a time without thawing the whole pan.
Storage and Reheating
- Refrigerator: Not recommended. The ice cream melts and the dough layer loses its frozen structure.
- Freezer: Freeze wrapped sandwiches for up to 2 weeks for the best texture. After that, the dough can start to pick up freezer flavor.
- Reheating: No reheating needed. Let a sandwich sit at room temperature for 2 to 4 minutes so the dough softens slightly before eating; if you wait too long, the ice cream will spill out the sides.
Questions I Get Asked About This Recipe
No-Bake Cookie Dough Ice Cream Sandwiches
Ingredients
Equipment
Method
- Preheat the oven to 350F and spread the all-purpose flour on a sheet pan in an even layer. Bake for 5 minutes, then cool completely before using.
- Beat the softened butter, brown sugar, and granulated sugar until fluffy. Mix until smooth and lighter in color.
- Beat in the milk, vanilla extract, and salt until the mixture is smooth. Scrape the sides as needed to fully combine.
- Stir in the heat-treated flour until a dough forms, then fold in the mini chocolate chips. Stop mixing once the dough holds together and the chips are evenly distributed.
- Divide the dough in half and press each half into a parchment-lined 9x13 pan in an even 1/2-inch layer. Level the tops so they freeze uniformly.
- Freeze both dough layers for 30 minutes until firm. The surface should feel solid and not spread when touched lightly.
- Spread a 1-inch layer of slightly softened vanilla ice cream over one frozen dough layer. Work quickly so the dough stays firm while you add the ice cream.
- Carefully flip the second frozen dough layer on top of the ice cream. Align the edges as you lower it so the ice cream doesn’t ooze out.
- Press gently to create an even sandwich and freeze for at least 2 hours until completely firm. The center should be solid straight from the freezer.
- Slice into rectangles using a warm knife, then serve immediately. Warming the blade helps keep the edges clean as you cut.
- Wrap any extras individually and store them cold until ready to eat. Keep the sandwiches in the freezer to maintain their firm texture.