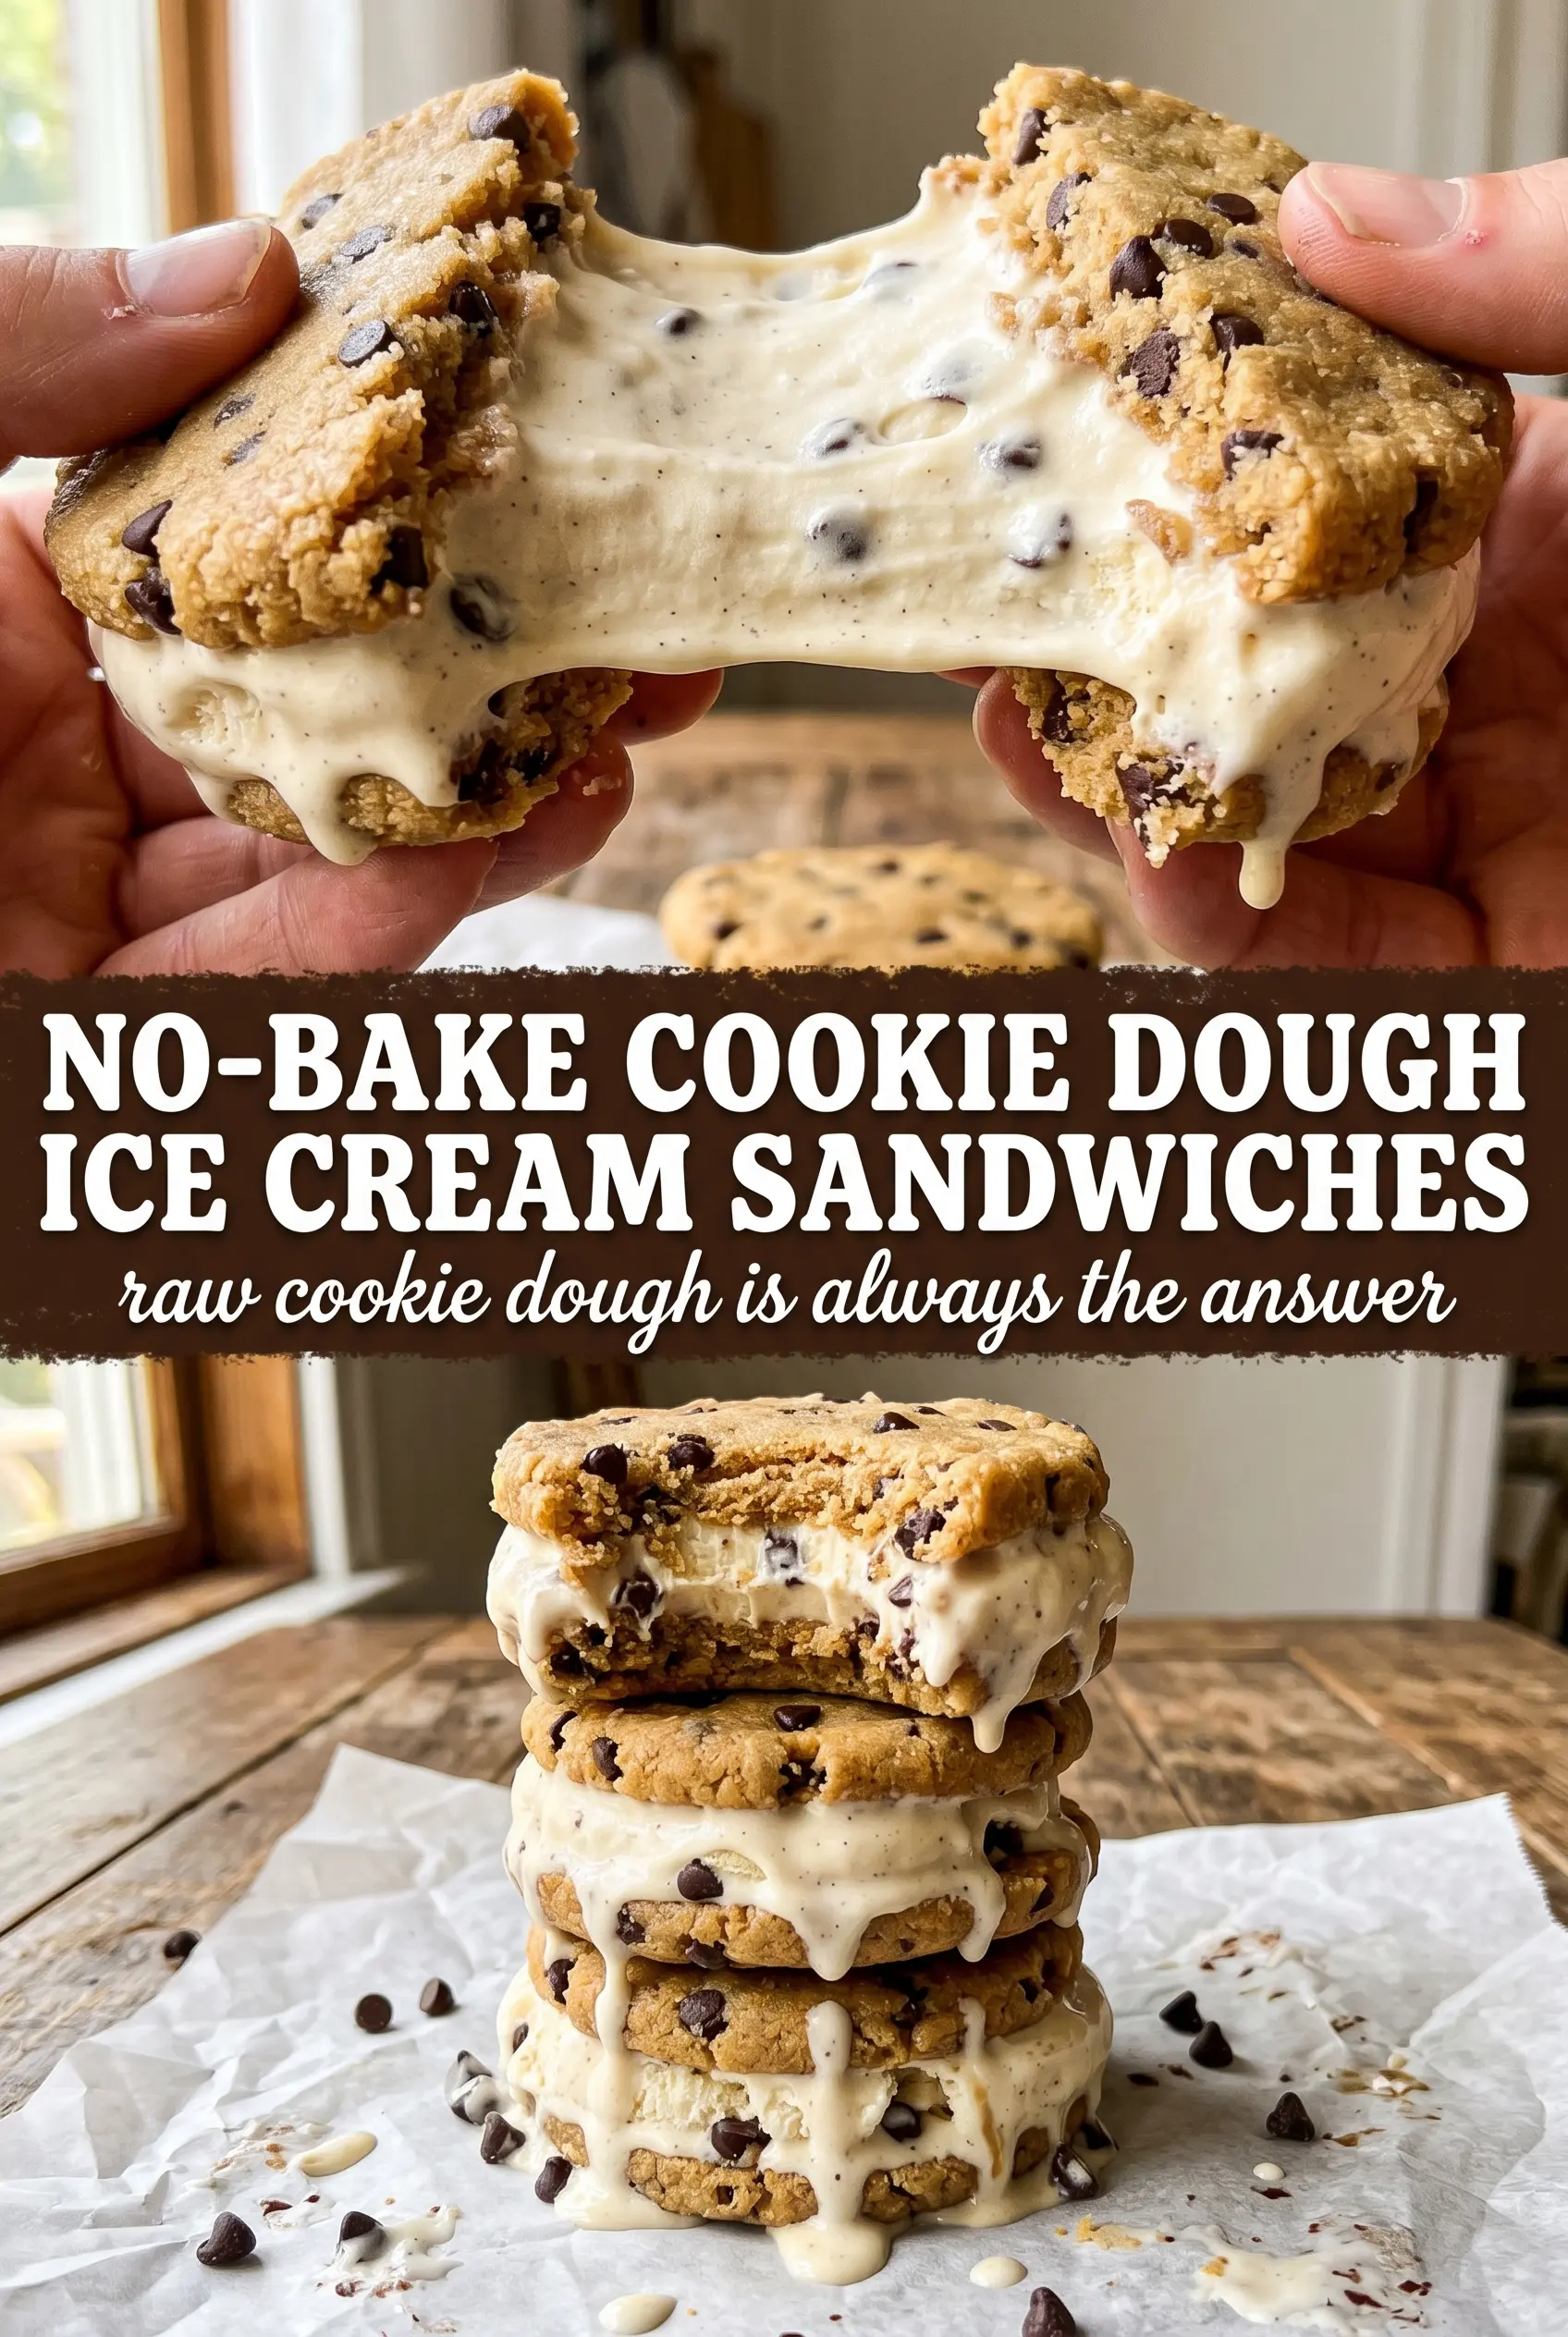
Ingredients
Equipment
Method
Heat-Treat Flour (Make Cookie Dough Safe)
- Preheat the oven to 350F and spread the all-purpose flour on a sheet pan in an even layer. Bake for 5 minutes, then cool completely before using.
Mix the Edible Cookie Dough
- Beat the softened butter, brown sugar, and granulated sugar until fluffy. Mix until smooth and lighter in color.
- Beat in the milk, vanilla extract, and salt until the mixture is smooth. Scrape the sides as needed to fully combine.
- Stir in the heat-treated flour until a dough forms, then fold in the mini chocolate chips. Stop mixing once the dough holds together and the chips are evenly distributed.
Freeze the Cookie Dough Layers
- Divide the dough in half and press each half into a parchment-lined 9x13 pan in an even 1/2-inch layer. Level the tops so they freeze uniformly.
- Freeze both dough layers for 30 minutes until firm. The surface should feel solid and not spread when touched lightly.
Assemble the Ice Cream Sandwiches
- Spread a 1-inch layer of slightly softened vanilla ice cream over one frozen dough layer. Work quickly so the dough stays firm while you add the ice cream.
- Carefully flip the second frozen dough layer on top of the ice cream. Align the edges as you lower it so the ice cream doesn’t ooze out.
- Press gently to create an even sandwich and freeze for at least 2 hours until completely firm. The center should be solid straight from the freezer.
Slice and Serve
- Slice into rectangles using a warm knife, then serve immediately. Warming the blade helps keep the edges clean as you cut.
- Wrap any extras individually and store them cold until ready to eat. Keep the sandwiches in the freezer to maintain their firm texture.
Notes
Pro tip: cool the heat-treated flour fully before mixing—warm flour can make the butter seize and the dough won’t press as smoothly. Refrigerate: not recommended (ice cream softens quickly). Freeze: yes—store wrapped sandwiches for up to 2 months for best texture. Dietary swap: use a 1:1 gluten-free all-purpose baking flour blend in place of the wheat flour and heat-treat it the same way for an option closer to gluten-free cookie dough.