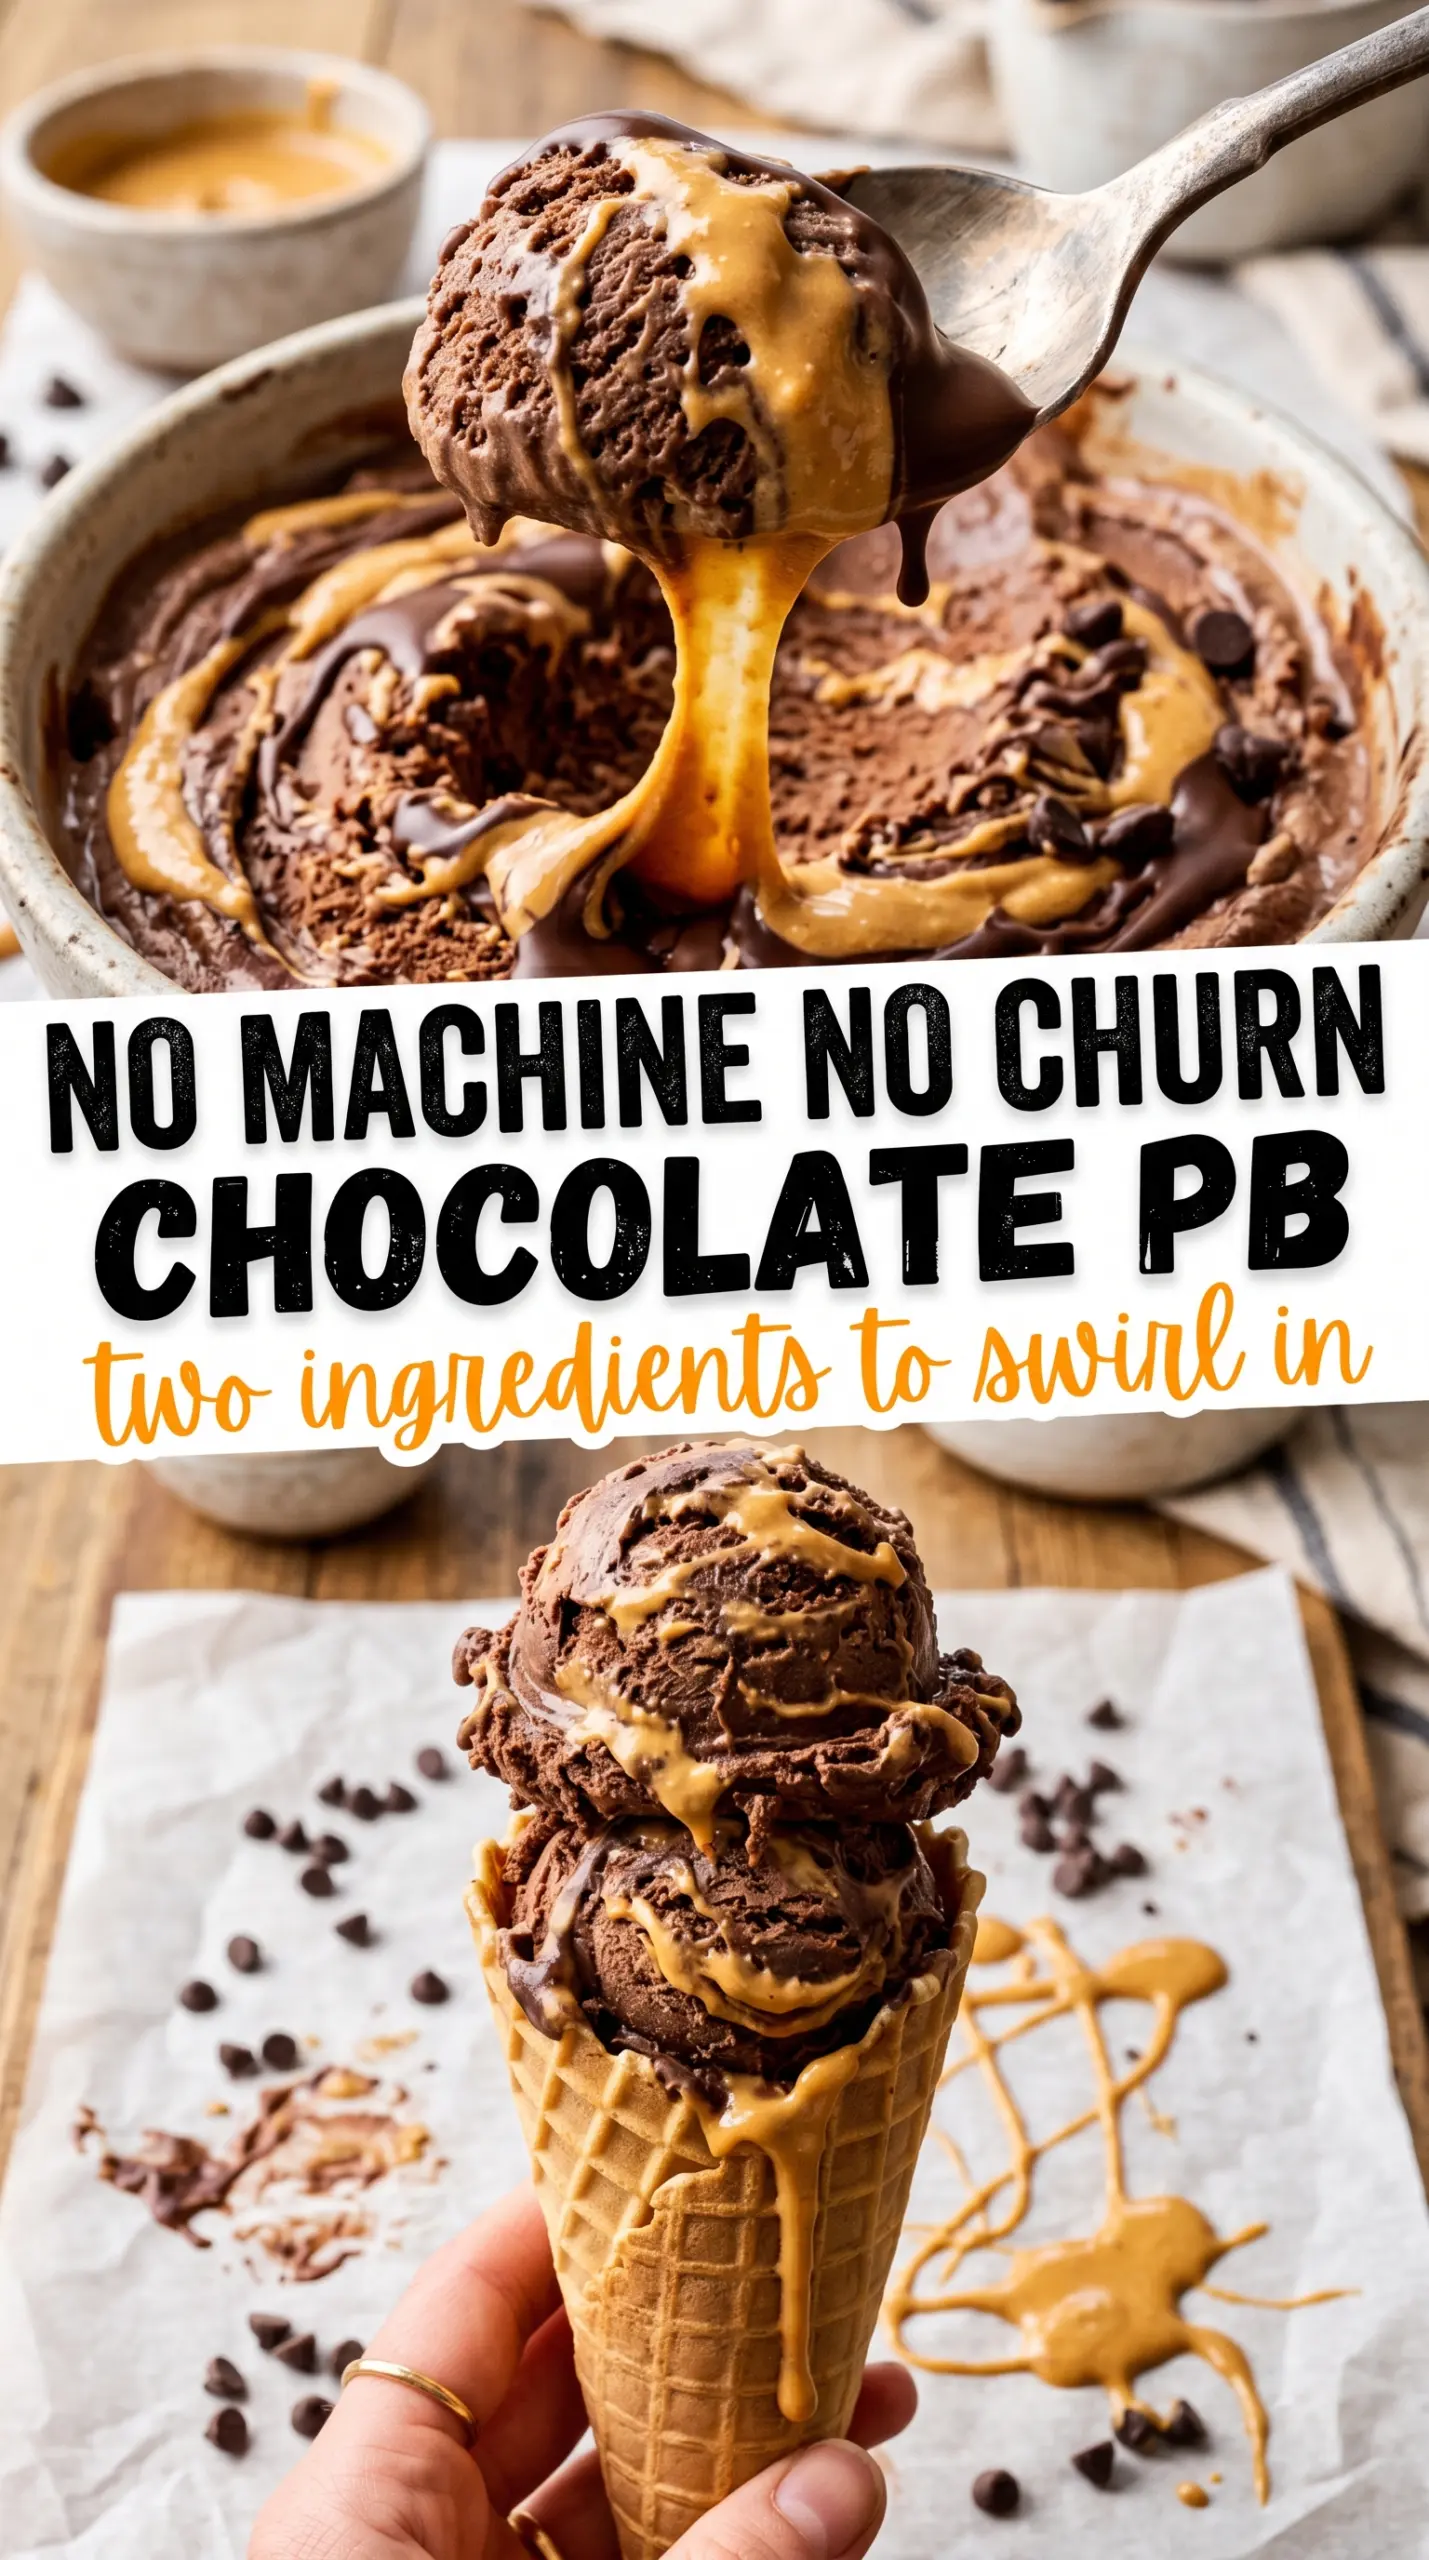
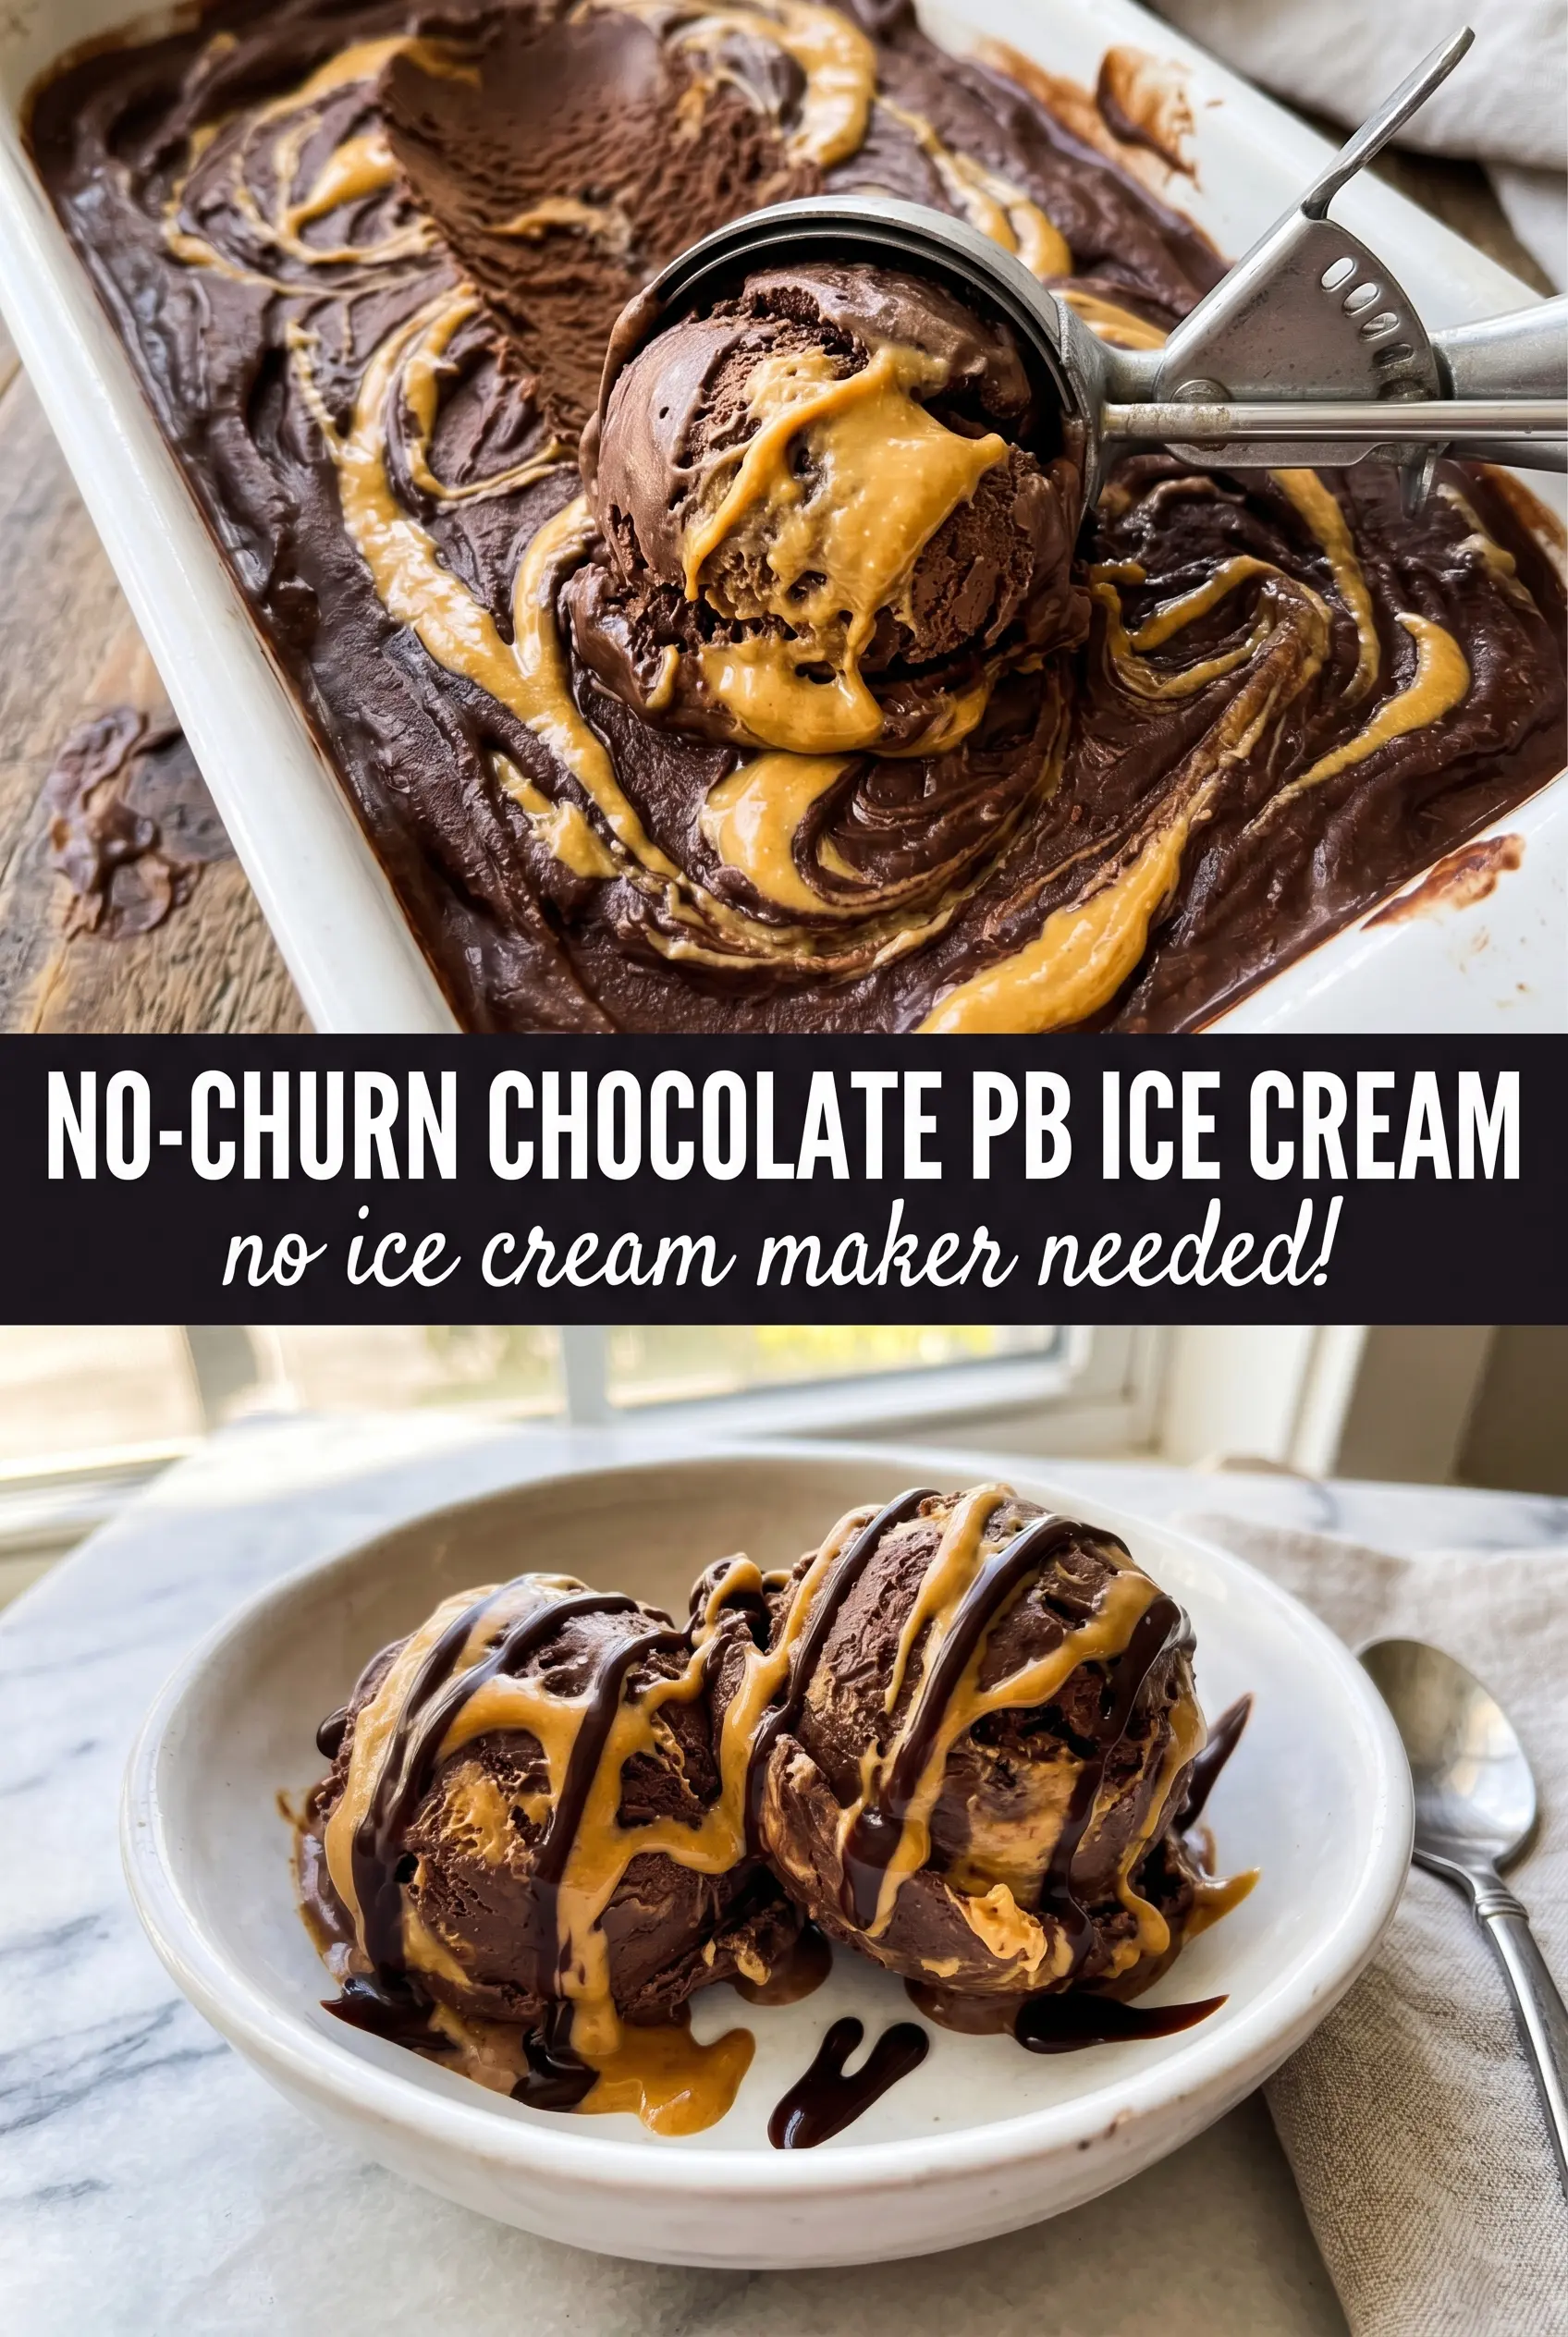
Fudgy chocolate ice cream and thick peanut butter ribbons make this the kind of dessert people keep sneaking back to the freezer for. The texture lands somewhere between mousse and classic scoop shop ice cream: soft enough to scoop cleanly, dense enough to feel rich, and streaked with salty-sweet swirls that cut through the cocoa in the best way.
The trick is in the base. Sweetened condensed milk brings sweetness and body without a churn, while whipped cream gives the ice cream its light, creamy structure. Cocoa powder needs to be whisked smooth before it goes anywhere near the cream, and the peanut butter gets warmed just enough to ribbon instead of clump. That little bit of attention is what keeps the finished pan from turning icy or muddy.
Below you’ll find the easiest way to fold the base without knocking out the air, plus a few smart swaps if you want to lean more peanut-buttery, make it dairy-free, or store it for later without losing that soft scoop.
The peanut butter stayed beautifully swirled instead of sinking, and the ice cream froze up creamy with no icy bits at all. I let it sit on the counter for about 8 minutes and it scooped like a dream.
Save this no-churn chocolate peanut butter ice cream for the nights when you want thick peanut butter swirls and fudgy chocolate without pulling out an ice cream maker.
The Part That Keeps No-Churn Ice Cream Creamy Instead of Icy
The biggest mistake in no-churn ice cream is folding too hard or freezing a mixture that never got enough air in the first place. Whipped cream is the structure here, and once those peaks are stiff, they need to stay that way until the condensed milk mixture is folded in gently. If you stir like you’re making cake batter, the whole thing turns dense and less scoopable after freezing.
The other place people lose the texture is with the peanut butter. Cold peanut butter clogs into streaks that sit on top instead of marbling through the base, so warming it just enough to flow makes a big difference. You want ribbons, not pools. The swirl should still hold shape when you drag a knife through it.
- Heavy cream — This is the structure and the richness. There’s no good substitute if you want the same creamy freeze, because the whipped fat is what keeps the ice cream soft instead of hard and icy.
- Sweetened condensed milk — It sweetens and thickens at the same time. Regular milk or cream won’t do the same job because the concentrated sugar content helps control ice crystals.
- Cocoa powder — Unsweetened cocoa gives the base that deep chocolate flavor without adding extra liquid. Dutch-process or natural both work here, but whisk it thoroughly so you don’t end up with dry pockets.
- Creamy peanut butter — Use a smooth style for the cleanest swirls. Natural peanut butter can work if it’s well stirred and not too oily, but it’s more likely to separate and drift into the base.
What Each Ingredient Is Actually Doing in This Ice Cream
- Base ingredient (cream, milk, or custard) — This provides the foundation and richness. Quality matters.
- Sweetener (sugar, honey, or condensed milk) — This sweetens and prevents ice crystals. The ratio is critical.
- Flavor element (vanilla, fruit, chocolate, coffee, or other) — This defines the ice cream personality. Use quality ingredients.
- Egg yolks (if making custard base) — These create richness and silky texture. Optional but elevates ice cream.
- Churning (if using ice cream maker) — This incorporates air and prevents ice crystals. Critical for smooth texture.
- Freezing temperature and time — Proper freezing prevents rock-hard texture. Store at 0°F or below.
- Mix-ins (chocolate, cookies, fruit, or swirls) — These add texture and prevent one-dimensional flavor. Add near end of churning.
- Serving temperature (slightly soft, not rock hard) — This provides creamy mouthfeel. Remove from freezer 5 minutes before serving.
How to Fold the Base and Swirl the Peanut Butter Without Losing the Texture
Whipping the Cream to Stiff Peaks
Start with cold cream in a cold bowl if you can. Whip until the cream holds firm peaks that stand up when you lift the beater; if the peaks slump over, the base won’t have enough body after freezing. Stop before it starts looking grainy or dry. Overwhipped cream can turn sandy when you fold it, and that texture carries through to the final ice cream.
Making the Chocolate Base Smooth
Whisk the condensed milk, cocoa, vanilla, and salt together until the mixture looks glossy and fully uniform. Cocoa likes to cling to the sides of the bowl, so scrape the bottom and corners. If you see dark specks, keep whisking. Any unmixed cocoa will show up as bitter pockets in the finished pan.
Folding Without Deflating
Add the chocolate mixture to the whipped cream in two or three additions, then use a spatula to fold from the bottom up. The goal is to keep the mixture light and billowy while erasing streaks of white cream. If the base gets loose and shiny like pudding, it has been mixed too much. Stop as soon as you no longer see separate ribbons of cream.
Swirling the Peanut Butter
Warm the peanut butter just until it loosens and drizzles easily. Pour half the ice cream base into the loaf pan, drizzle half the peanut butter over the top, then run a knife through it once or twice. Repeat with the remaining base and peanut butter. Too many passes turn the swirl muddy; a few deliberate cuts give you those thick golden ribbons that make the dessert stand out.
Extra Peanut Butter Swirl
Add another 2 to 3 tablespoons of warm peanut butter on top before freezing if you want a stronger peanut butter flavor and more visible ribbons. The ice cream will still set the same way, but the top will have a softer, more dramatic swirl pattern.
Dairy-Free Version
Use full-fat coconut cream instead of heavy cream and a dairy-free sweetened condensed milk. The texture will be a little less neutral and a touch more coconut-forward, but it still freezes creamy if you chill the coconut cream well before whipping.
Crunchy Peanut Butter Topping
Swap in crunchy peanut butter for part of the swirl if you want texture on top. It won’t ribbon as cleanly, but it adds little peanut bits that give each bite a firmer snap against the creamy base.
Storage and Reheating
- Refrigerator: This ice cream doesn’t belong in the fridge for storage. It softens fast and loses the set you worked for.
- Freezer: Store covered for up to 2 weeks for the best texture. After that it’s still safe, but the swirls can start to lose their clean edges and the base firms up more.
- Reheating: Let the pan sit at room temperature for 5 to 10 minutes before scooping. If it gets rock hard, don’t microwave the whole container; that melts the edges before the center is usable.
Questions I Get Asked About This Recipe
No-Churn Chocolate Peanut Butter Ice Cream
Ingredients
Equipment
Method
- Whip the heavy cream in a large bowl until stiff peaks form, about 3–5 minutes, until the whisk leaves distinct trails. Visual cue: the cream should stand up firmly without drooping.
- Whisk the sweetened condensed milk, cocoa powder, vanilla, and salt together in a separate bowl until smooth, 1–2 minutes. Visual cue: no cocoa streaks remain and the mixture looks glossy and uniform.
- Gently fold the condensed milk mixture into the whipped cream until just combined, about 30–60 seconds. Visual cue: the batter should look thick and marbled without deflating the volume.
- Pour half of the mixture into a 9x5 loaf pan and spread into an even layer. Visual cue: the surface looks smooth and dark with no gaps.
- Drizzle half of the warm peanut butter over the first layer and swirl with a knife in shallow zigzags. Visual cue: thick golden ribbons form across the chocolate base.
- Pour the remaining ice cream mixture over the peanut butter layer and spread gently. Visual cue: the top looks evenly dark before the final swirl.
- Drizzle the remaining peanut butter over the top and swirl again with a knife in the same shallow pattern. Visual cue: you should see thick peanut butter ribbons throughout the surface layer.
- Freeze for at least 6 hours, or overnight, until firm to the touch and scoopable. Visual cue: the ice cream should hold shape with no liquid edges when you gently press the surface.