Ingredients
Equipment
Method
Whip and mix
- Whip the heavy cream in a large bowl until stiff peaks form, about 3–5 minutes, until the whisk leaves distinct trails. Visual cue: the cream should stand up firmly without drooping.
- Whisk the sweetened condensed milk, cocoa powder, vanilla, and salt together in a separate bowl until smooth, 1–2 minutes. Visual cue: no cocoa streaks remain and the mixture looks glossy and uniform.
- Gently fold the condensed milk mixture into the whipped cream until just combined, about 30–60 seconds. Visual cue: the batter should look thick and marbled without deflating the volume.
Layer and swirl
- Pour half of the mixture into a 9x5 loaf pan and spread into an even layer. Visual cue: the surface looks smooth and dark with no gaps.
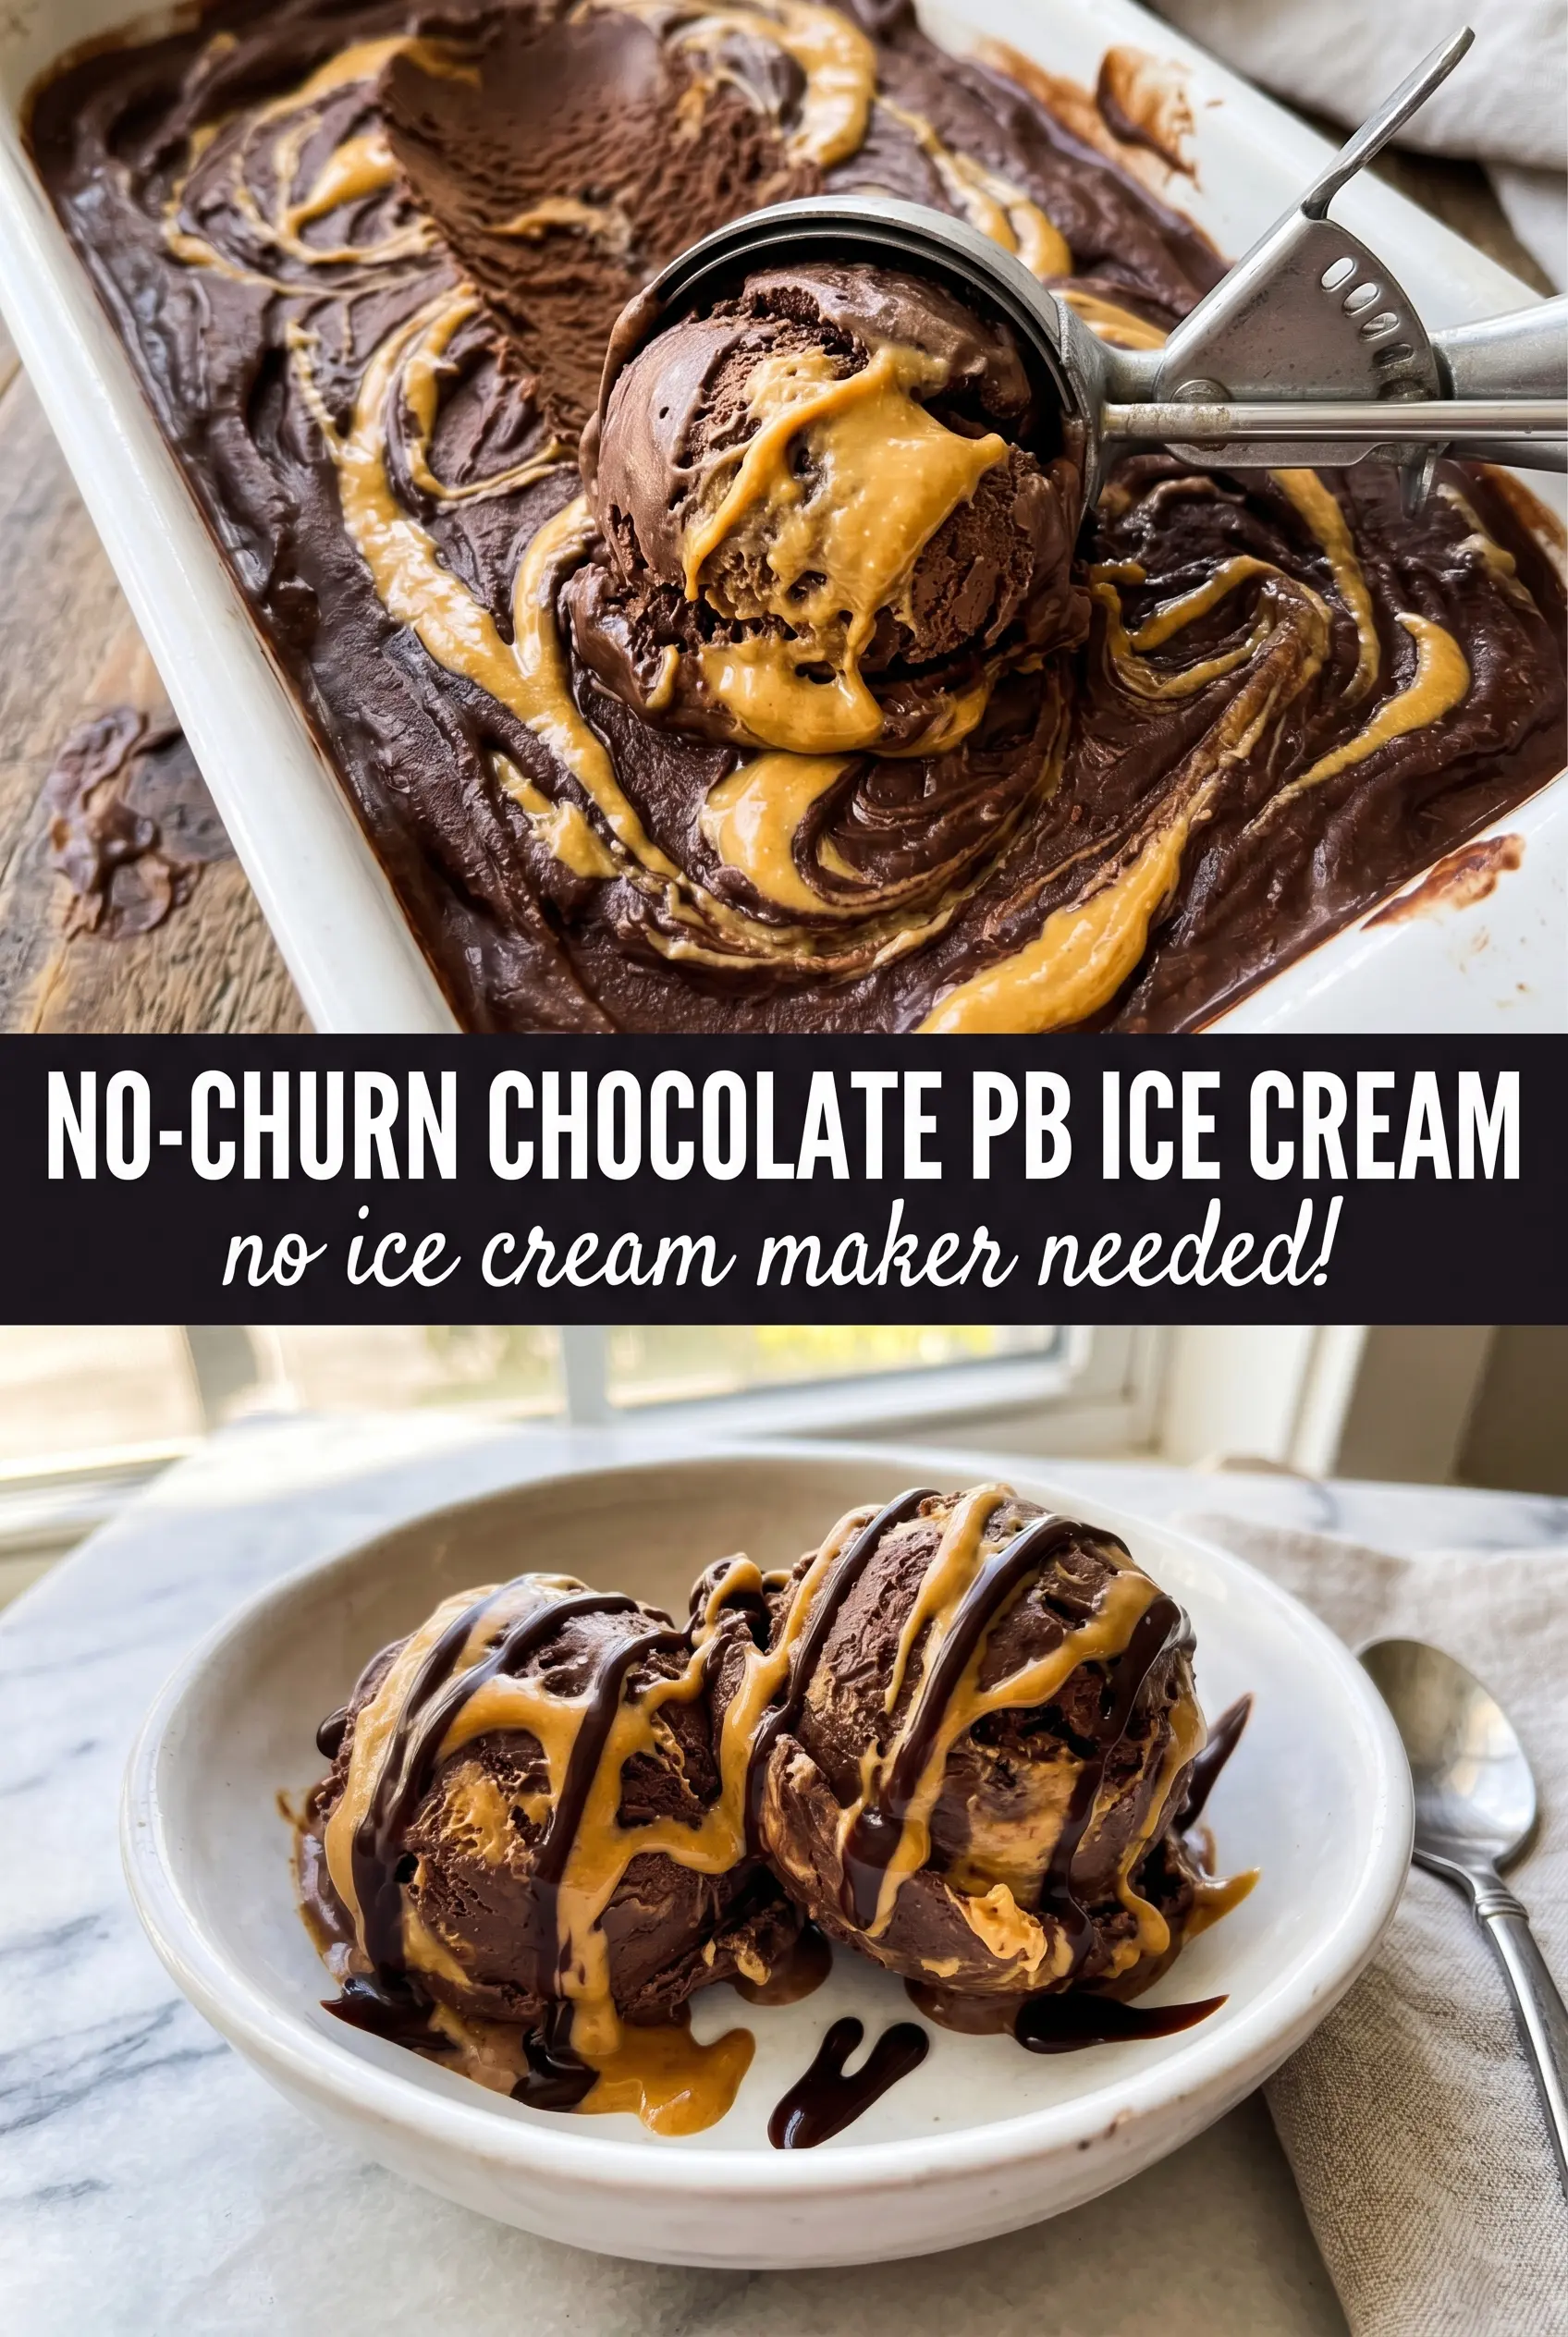
- Drizzle half of the warm peanut butter over the first layer and swirl with a knife in shallow zigzags. Visual cue: thick golden ribbons form across the chocolate base.
- Pour the remaining ice cream mixture over the peanut butter layer and spread gently. Visual cue: the top looks evenly dark before the final swirl.
- Drizzle the remaining peanut butter over the top and swirl again with a knife in the same shallow pattern. Visual cue: you should see thick peanut butter ribbons throughout the surface layer.
Freeze
- Freeze for at least 6 hours, or overnight, until firm to the touch and scoopable. Visual cue: the ice cream should hold shape with no liquid edges when you gently press the surface.
Notes
Pro tip: warm the peanut butter just enough to drizzle (microwave in 10-second bursts), then swirl quickly so the ribbons stay thick. Store covered in the freezer for up to 2 weeks. Freezing works well, but for best texture let it soften in the fridge 10–15 minutes before scooping. Dietary swap: use a dairy-free condensed milk alternative and coconut cream whipped to stiff peaks if you want a dairy-free version (texture may be slightly softer).