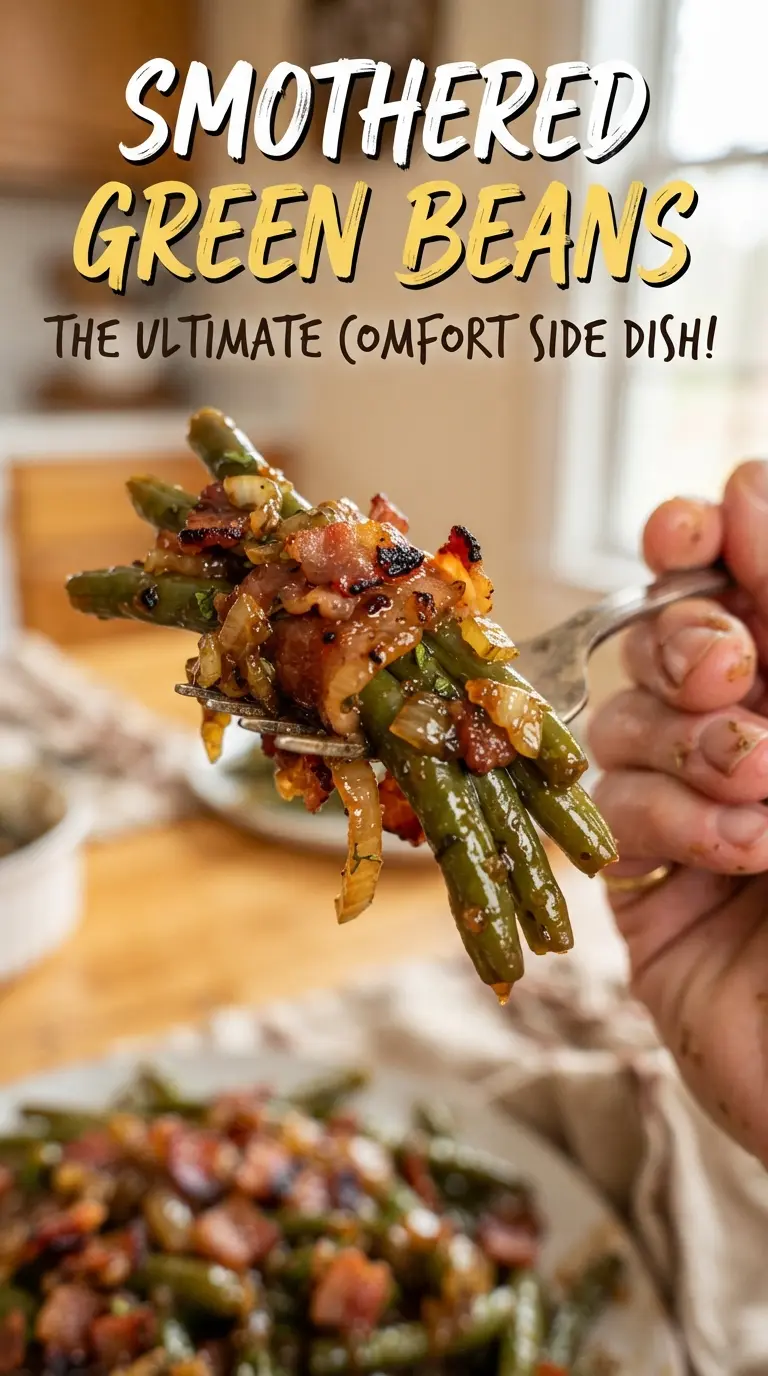
Smothered green beans turn into something far more satisfying than a basic side dish once the bacon drippings, brown sugar, and butter have time to sink in. The beans come out tender and glossy, with a sticky-savory sauce that clings to every bite instead of pooling sadly at the bottom of the pan. That little bit of sweetness does the heavy lifting here, balancing the salt from the bacon and soy sauce without tasting like dessert.
What makes this version work is the layering. The bacon and onion cook first so the onion softens in the fat and picks up a little color, then the beans bake covered long enough to soak up the sauce without drying out. Draining the bacon would throw away flavor you actually want in the dish, and the foil cover keeps the sugars from reducing too fast before the beans are heated through.
Below, I’ve included the detail that matters most: how to keep the sauce glossy instead of grainy, plus a few swaps for when you need to adjust the dish for the people at your table.
The sauce came out glossy and coated the beans instead of sitting watery in the bottom of the dish. I stirred once halfway through and the bacon stayed crisp enough to give every bite a little crunch.
These smothered green beans with bacon and brown sugar stay glossy, savory, and tender — save this one for your next comfort-food side dish.
The Reason the Sauce Stays Glossy Instead of Greasy
Brown sugar and butter can turn into a slick, separated mess if the pan gets too hot too fast. Here, the sauce bakes under foil, which traps steam and keeps the sugar from tightening up before the beans are hot all the way through. The single stir halfway through matters because it redistributes the drippings and keeps the top layer from drying out while the bottom stays overly saucy.
The other thing that keeps this dish on track is the bacon fat. It carries the onion, garlic powder, and soy sauce through the beans so every bite tastes seasoned, not just coated. If your sauce ever comes out thin, it usually means the beans were under-drained or the dish was uncovered too early.
What Each Ingredient Is Actually Doing in This Dish
- Canned cut green beans — These are soft enough to absorb the sauce during baking, which is exactly why they work here. Fresh green beans won’t behave the same way unless you blanch them first, and even then the final texture is firmer. Drain them well so the dish doesn’t turn watery.
- Bacon — This is the backbone of the flavor. You want it mostly crisp, not shattering hard, because it finishes in the oven and keeps some chew. Don’t drain the skillet; that fat is part of the sauce.
- Onion — The onion mellows in the bacon fat and gives the dish a little sweetness that keeps the brown sugar from tasting flat. Dice it small so it softens in the short skillet cook. A sweet onion works fine, but a yellow onion is the better everyday choice.
- Brown sugar — This gives the sauce its sticky finish and helps it cling to the beans. Packed brown sugar matters here because a loose scoop can leave the sauce underseasoned and too thin. There isn’t a perfect substitute if you want the same glaze.
- Soy sauce — This adds salt and depth without making the beans taste overtly soy-forward. It keeps the sweetness in check and helps the glaze read savory instead of candy-like. Low-sodium soy sauce works if that’s what you keep on hand.
- Butter — Melted butter carries the sugar and seasonings into a smooth sauce. If it cools and thickens before you pour, warm it briefly so it blends cleanly. Margarine won’t give the same round finish.
Getting the Beans Tender Without Losing the Sauce
Cooking the Bacon and Onion First
Start the bacon in a skillet and let it cook until it’s mostly crisp and the onion has turned soft and translucent. You want rendered fat in the pan, because that becomes part of the coating on the beans. If the bacon is left pale and floppy, it won’t bring enough flavor to stand up to the sugar.
Building the Dish in Layers
Spread the drained green beans in the baking dish before adding the bacon, onion, and all those drippings. That keeps the beans from clumping in one oily corner and helps the sauce reach every layer. A 9×13-inch dish gives enough surface area for the beans to heat evenly instead of steaming into mush.
Whisking the Sauce Until It Looks Unified
Stir the brown sugar, melted butter, soy sauce, garlic powder, and black pepper until the mixture looks smooth and glossy. If the butter starts to separate, whisk a little longer before pouring. The goal is a loose glaze that will thicken in the oven, not a grainy paste.
Baking Until the Glaze Clings
Cover the dish with foil and bake until the beans are hot and the sauce looks shiny and slightly thickened. Stir once during baking so the top layer doesn’t dry out and the bottom doesn’t over-reduce. When it’s done, the sauce should coat the beans instead of running like broth.
Make It with Fresh Green Beans
Fresh beans bring a brighter, firmer bite, but they need a quick blanch first or they’ll stay too snappy for this style of dish. Boil them for 3 to 4 minutes, then drain well before assembling. The result is a cleaner texture with less of that classic soft Southern casserole feel.
Skip the Bacon for a Vegetarian Version
Use 2 tablespoons butter and a small splash of olive oil in place of the bacon fat, then add a pinch of smoked paprika for a little depth. You’ll lose the salty, meaty edge, but the brown sugar sauce still works well with the beans. This is the cleanest path if you need a meatless side for the table.
Make It Gluten-Free
Use certified gluten-free soy sauce or tamari and the rest of the recipe stays the same. The flavor and texture barely change, since the soy sauce is there for salt and depth, not body. This is the easiest swap in the whole dish.
Storage and Reheating
- Refrigerator: Store leftovers in an airtight container for up to 4 days. The sauce will thicken and the beans will soften a bit more.
- Freezer: It freezes, but the bean texture gets softer after thawing. If you freeze it, cool it completely first and use a freezer-safe container for up to 2 months.
- Reheating: Warm it covered in the oven at 325F or in the microwave in short bursts, stirring once or twice. High heat can dry out the sauce and make the bacon tough.
Answers to the Questions Worth Asking
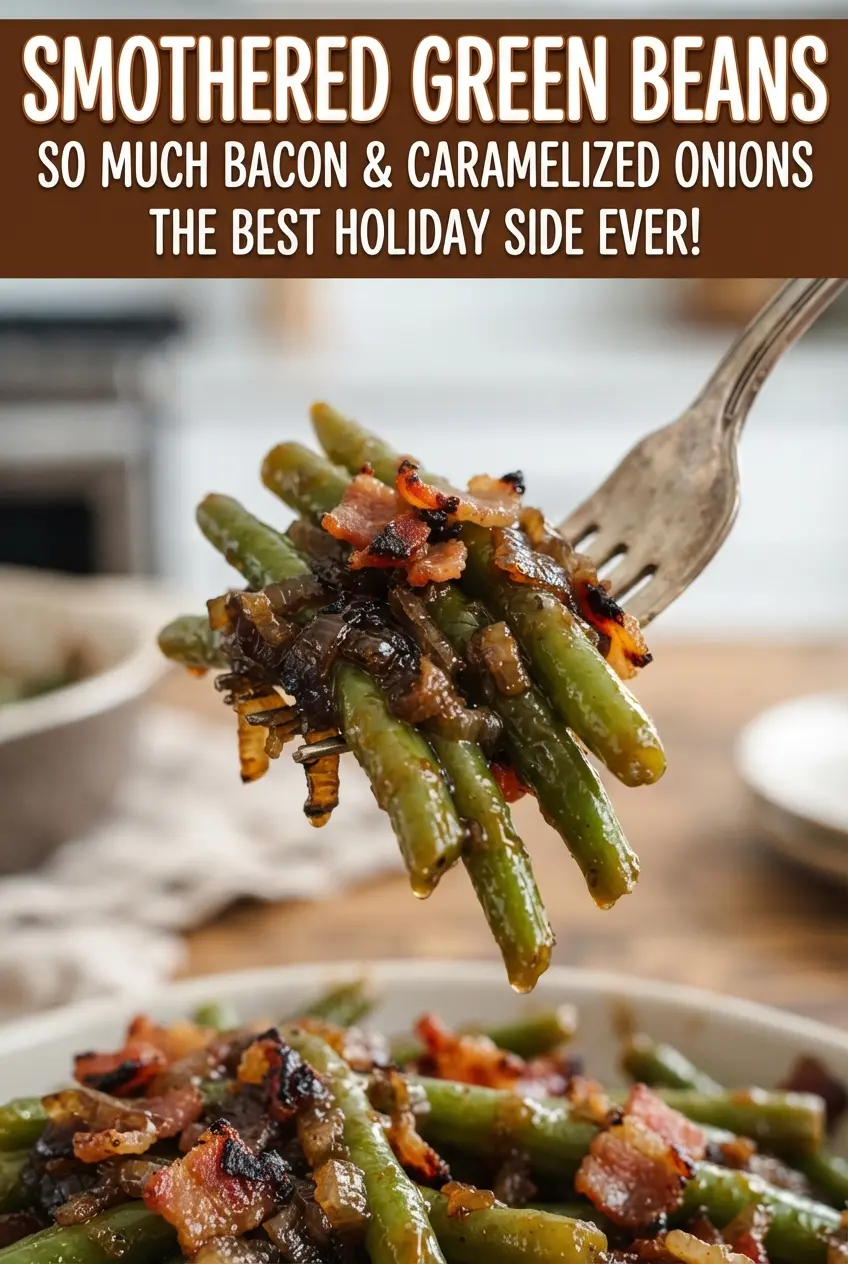
Smothered Green Beans
Ingredients
Equipment
Method
- Preheat the oven to 350F. Set out a 9x13-inch baking dish so the beans are ready to layer.
- Cook the chopped bacon and diced onion in a skillet for 8 minutes until the bacon is mostly crisp, keeping the drippings in the pan. Do not drain.
- Place the drained cut green beans in a 9x13-inch baking dish and top with the bacon, onion, and drippings from the skillet. Spread into an even layer.
- Whisk together the packed brown sugar, melted butter, soy sauce, garlic powder, and black pepper until smooth. Pour the sauce evenly over the beans.
- Cover the baking dish with foil and bake for 35-40 minutes at 350F. Stir once during baking to help the sauce coat the beans.
- Continue baking until the sauce is glossy. Use the stir as a visual cue—once shiny and thick, the beans are ready.
- Stir the beans and serve warm. Spoon the sauce that pools around the green beans for best coating.