Warm fruit, a deep golden crumble, and pockets of walnut crunch make this walnut pear apple crisp the kind of dessert people keep going back to for “just one more spoonful.” The pears soften into something silky, the apples hold enough shape to give the filling some bite, and the topping bakes into those big, buttery clumps that are the whole point of a good crisp.
What makes this version work is the balance. Pears bring sweetness and a softer texture, while apples keep the filling from turning mushy. A little cornstarch thickens the juices as they bake, so the fruit stays saucy instead of watery, and the walnuts in the topping add a toasty, earthy note that keeps the dessert from tasting one-dimensional. Cold butter is important here; it creates the craggy, crisp topping instead of a sandy one.
Below you’ll find the trick to getting the fruit bubbling before the topping overbrowns, plus the best swaps if your pears are extra ripe or you want to make the crisp ahead.
The filling came out thick and bubbly, and the walnut crumble stayed crisp even after sitting for a bit. I used very ripe pears and it still held together beautifully.
Save this walnut pear apple crisp for the nights when you want bubbling fruit, a crunchy walnut-oat topping, and zero fuss.
The Part That Keeps the Filling Thick Instead of Watery
Fruit crisps fail when the juices run loose and pool under the topping. That usually happens when the fruit is too wet, the thickener is too light, or the pan comes out before the center has had time to bubble all the way through. Cornstarch needs heat and a little time to do its job, so the filling has to look actively bubbling in the middle, not just warm around the edges.
Apples and pears behave differently in the oven, and that’s what makes this dessert taste layered instead of flat. Pears soften faster and bring perfume and sweetness; apples keep some structure. If both fruits are overripe, the filling can collapse into jam, so use ripe pears but not bruised ones, and slice the apples and pears to a similar thickness so they cook at the same pace.
- Lemon juice keeps the fruit flavor bright and helps the apples hold their color a little better while they bake.
- Brown sugar deepens the filling and pairs naturally with the walnuts; the granulated sugar keeps the sweetness from getting muddy.
- Cornstarch thickens the juices without turning the filling gummy. Arrowroot can work, but it gives a slightly softer set and doesn’t hold as well after cooling.
What Each Ingredient Is Actually Doing in the Crumble
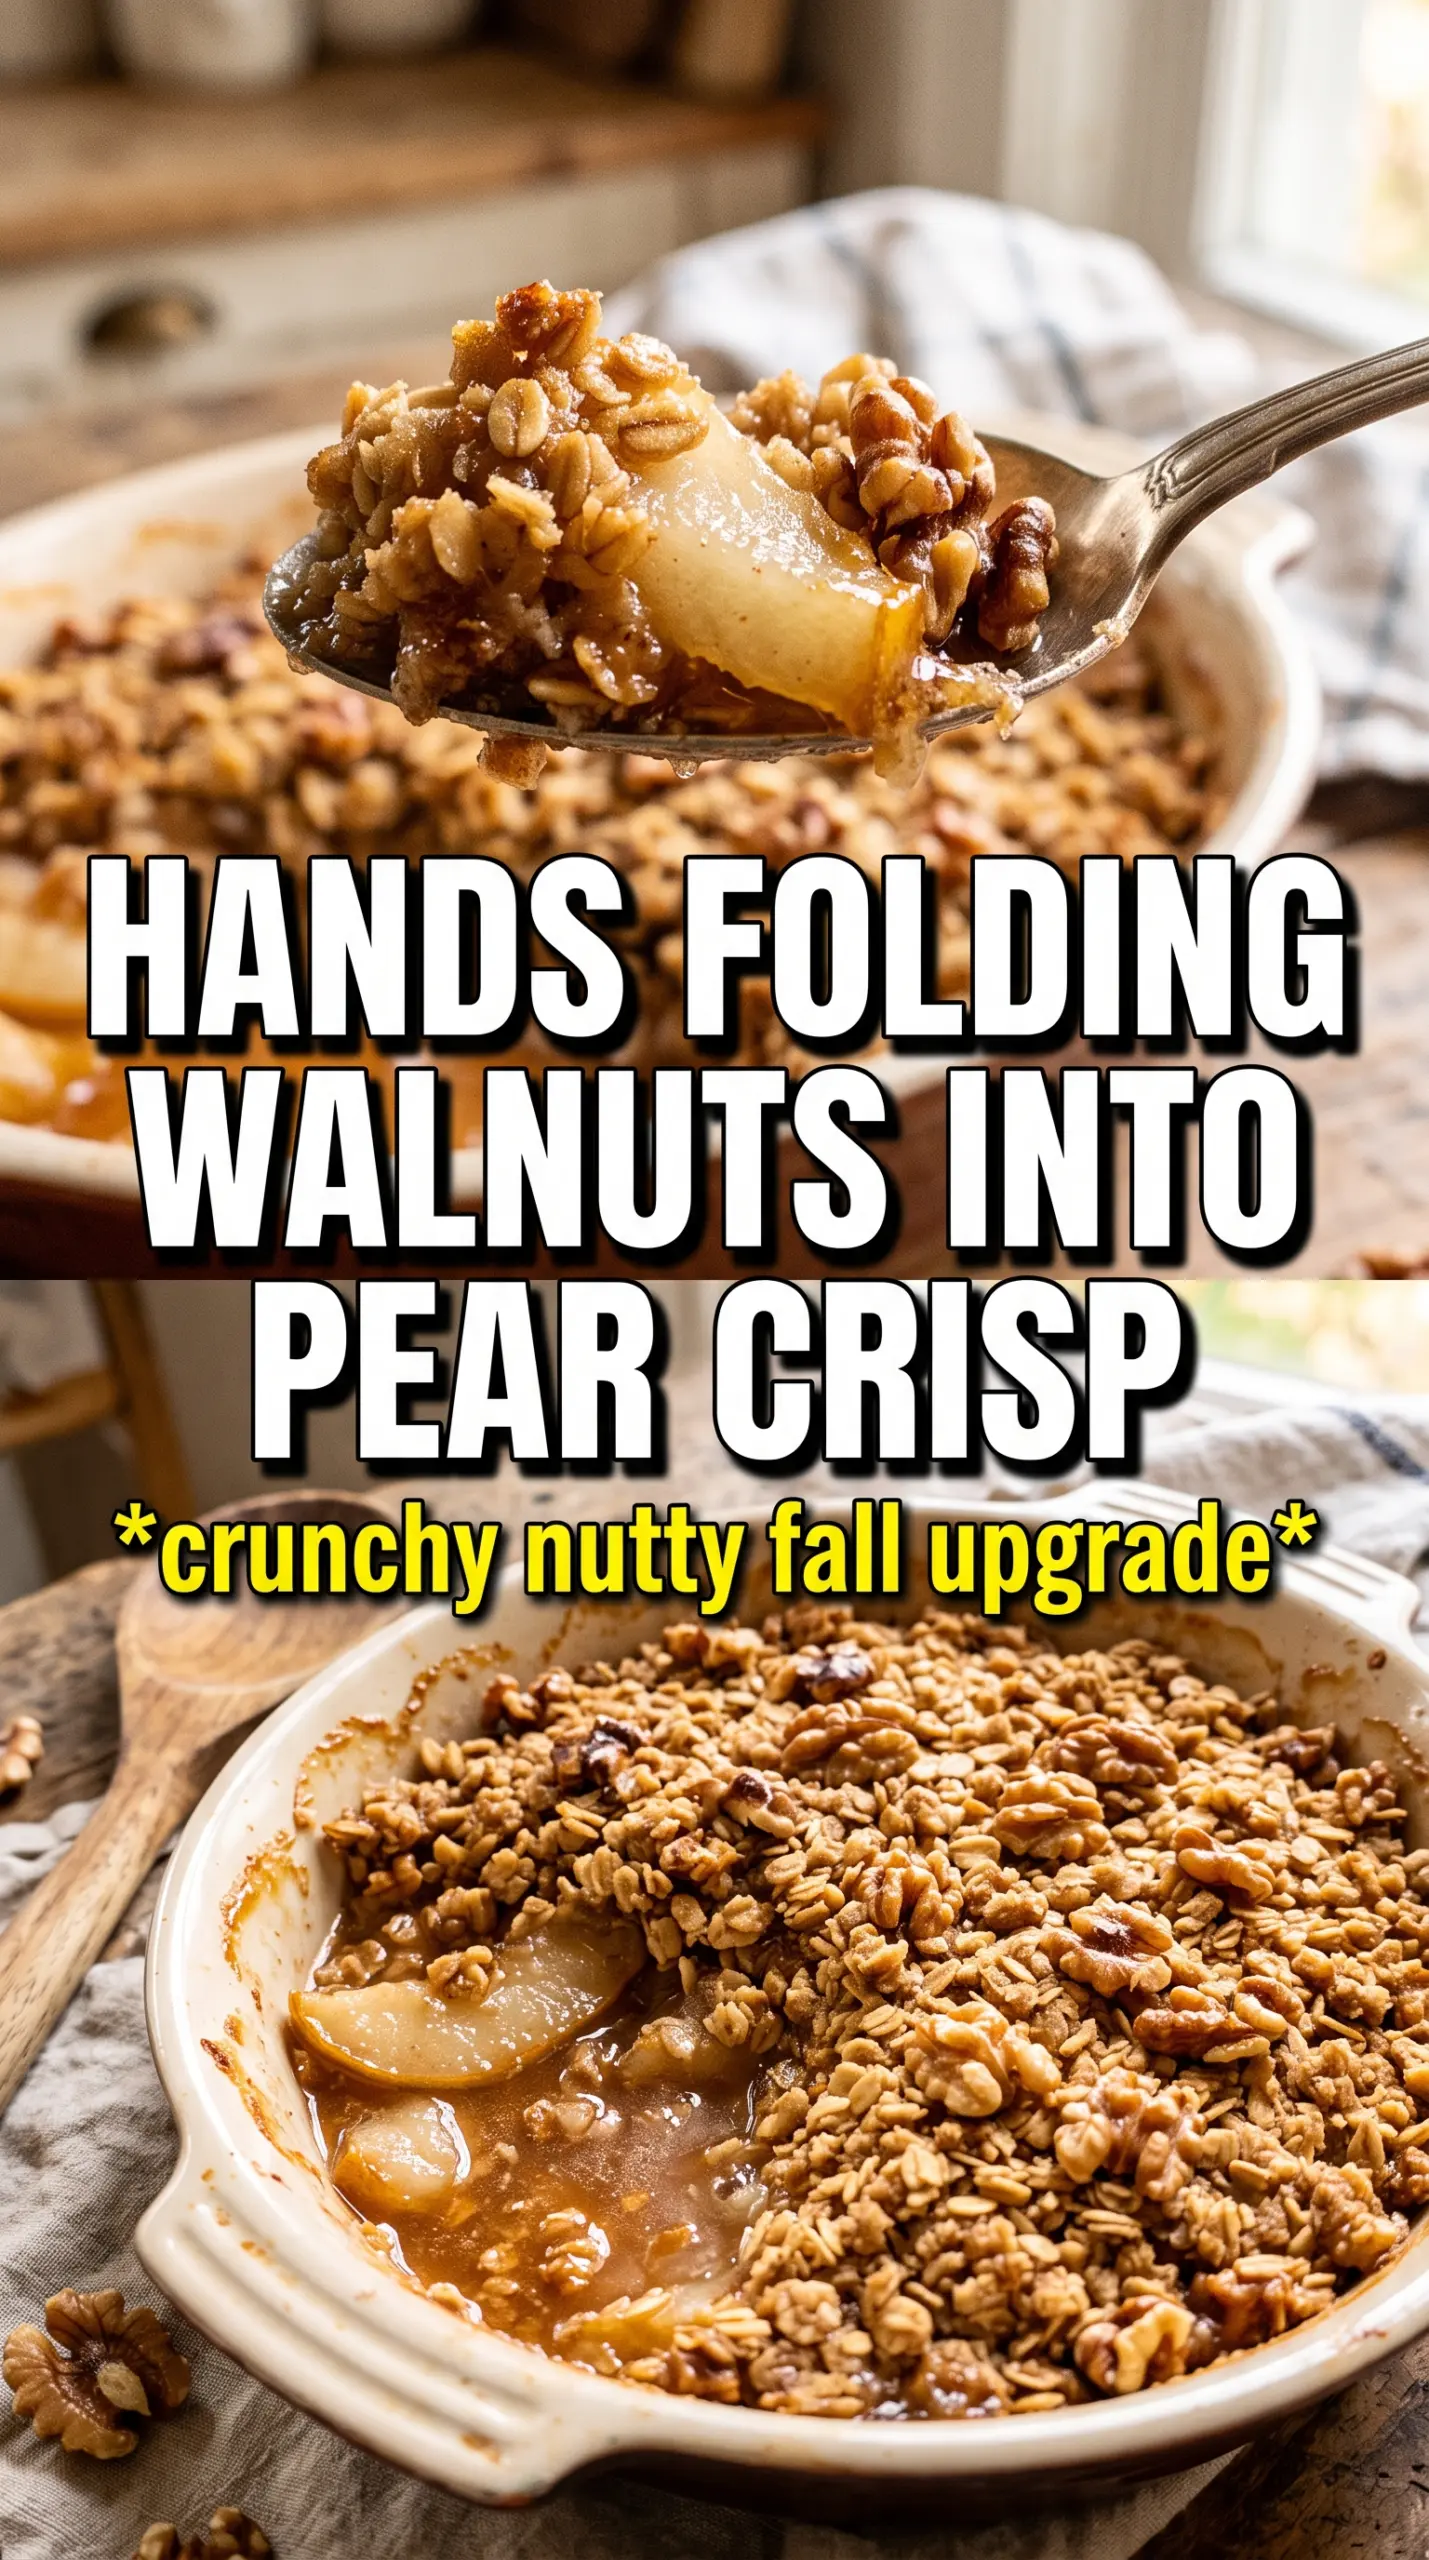
- Rolled oats give the topping that rustic, crisp texture. Quick oats work in a pinch, but they pack down more and lose some of the shattery crunch.
- Flour helps the topping clump. Without it, the crumble tends to stay sandy instead of forming those big, buttery chunks.
- Walnuts bring a toasty bitterness that balances the sweet fruit. Chop them roughly so you still get some larger pieces that stay noticeable after baking.
- Cold butter is what makes the topping crisp. If it softens before it goes in the oven, the crumble melts into a paste instead of baking into crumbs and clumps.
- Cinnamon and brown sugar carry the warm, caramel edge through the whole topping. That pairing matters more here than in a plain oat crisp because pears and walnuts both lean subtle unless you give them backup.
Getting the Bubble, the Crumble, and the Rest Time Right
Build the Fruit Layer First
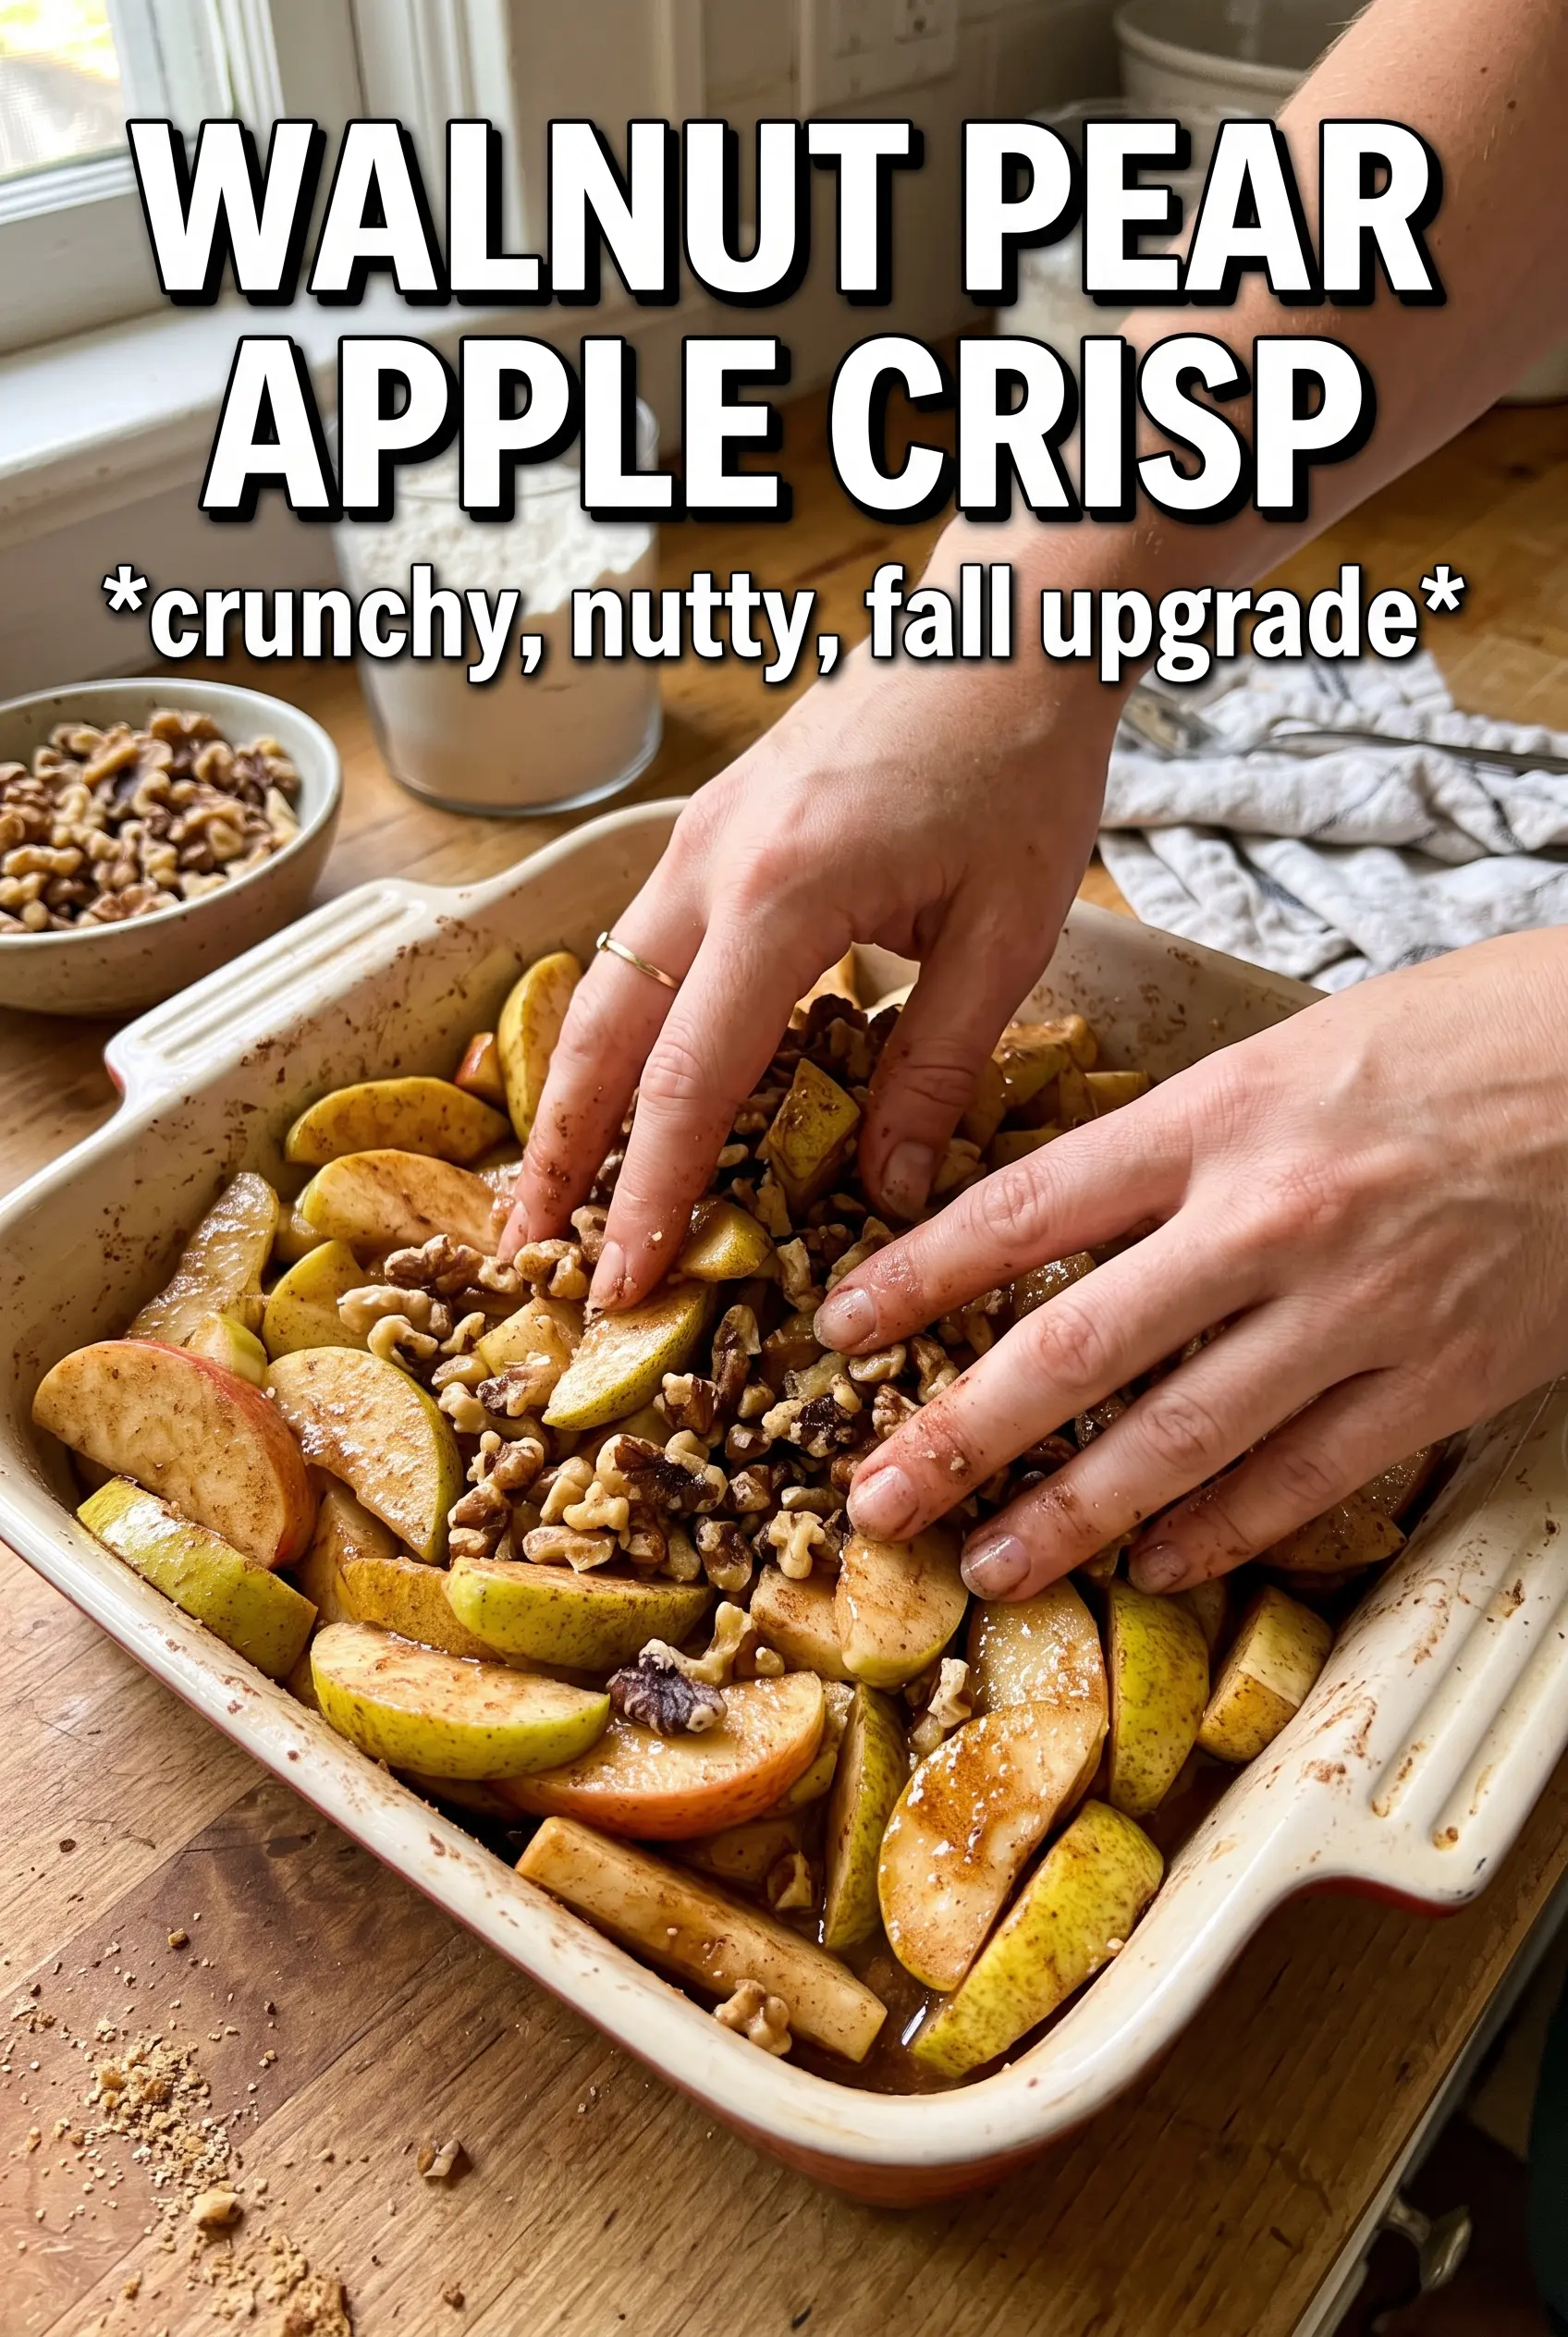
Toss the sliced apples and pears with the sugars, cinnamon, ginger, cornstarch, and lemon juice until every piece looks coated. The mixture should seem slightly glossy, not wet and soupy. Spread it in the baking dish in an even layer so the fruit cooks at the same rate; if you mound it high in the middle, the top can brown before the center bubbles.
Cut the Butter Until You See Clumps
Work the cold butter into the oat mixture until the texture looks like coarse crumbs with some pieces the size of peas. Those bigger bits are what bake into crunchy craggy topping, so don’t overwork it into a uniform meal. If the butter starts to smear, stop and chill the bowl for a few minutes before finishing.
Bake Until the Center Is Bubbling
Scatter the crumble evenly over the fruit and bake at 375F until the top is deeply golden and the fruit is bubbling through the center, not just around the edges. If the top is browning too fast, tent it loosely with foil for the last part of baking. The bubbling is the sign that the cornstarch has thickened the juices; pulling it early leaves you with loose syrup under the topping.
Let It Set Before Serving
Rest the crisp for 10 minutes before spooning it out. That short wait lets the fruit thicken a little more, so the filling settles instead of running across the plate. It’s still best warm, when the topping is crisp and the fruit is soft but not falling apart.
How to Adjust This Crisp Without Losing the Good Texture
Make it dairy-free
Use a solid plant-based butter substitute that behaves like stick butter, not a tub spread. You still want it cold and cubed so the topping clumps properly; softer spreads tend to melt out and leave the crumble greasy.
Skip the walnuts
Leave them out and add an extra 1/4 cup oats for bulk. The topping will be a little more straightforward and less toasty, but it still bakes up crisp as long as the butter stays cold and you don’t overmix it.
Use pears that are a little too ripe
If your pears are very soft, reduce them slightly and add one extra apple. That keeps the filling from turning mushy while still giving you the sweet pear flavor that makes this crisp stand out.
Make it ahead
Assemble the fruit and topping separately, then store them covered in the refrigerator for up to 1 day before baking. Keep the topping cold and dry until it goes into the oven so the butter doesn’t soften and lose that crumbly texture.
Storage and Reheating
- Refrigerator: Store covered for up to 4 days. The topping softens a little in the fridge, but the flavor stays strong.
- Freezer: It freezes well after baking. Cool completely, wrap tightly, and freeze for up to 2 months. Thaw overnight in the refrigerator before reheating.
- Reheating: Warm individual portions in a 350F oven until the topping crisps again and the center is hot. The microwave will heat the fruit, but it turns the crumble soft, which is the main thing you’re trying to avoid.
Questions I Get Asked About This Recipe
Walnut Pear Apple Crisp
Ingredients
Equipment
Method
- Preheat oven to 375F and grease a 9x13 baking dish so the fruit doesn’t stick.
- Toss apple and pear slices with granulated sugar, brown sugar, cinnamon, ginger, cornstarch, and lemon juice, then spread evenly in the dish so everything coats the fruit.
- Combine rolled oats, all-purpose flour, packed brown sugar, cinnamon, salt, and chopped walnuts, then cut in cold cubed butter until chunky clumps form for a crisp topping texture.
- Scatter the walnut crumble over the fruit, then bake 40-45 minutes at 375F until the top is deeply golden and the fruit is bubbling.
- Rest 10 minutes before serving so the filling thickens and slices stay intact.